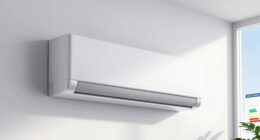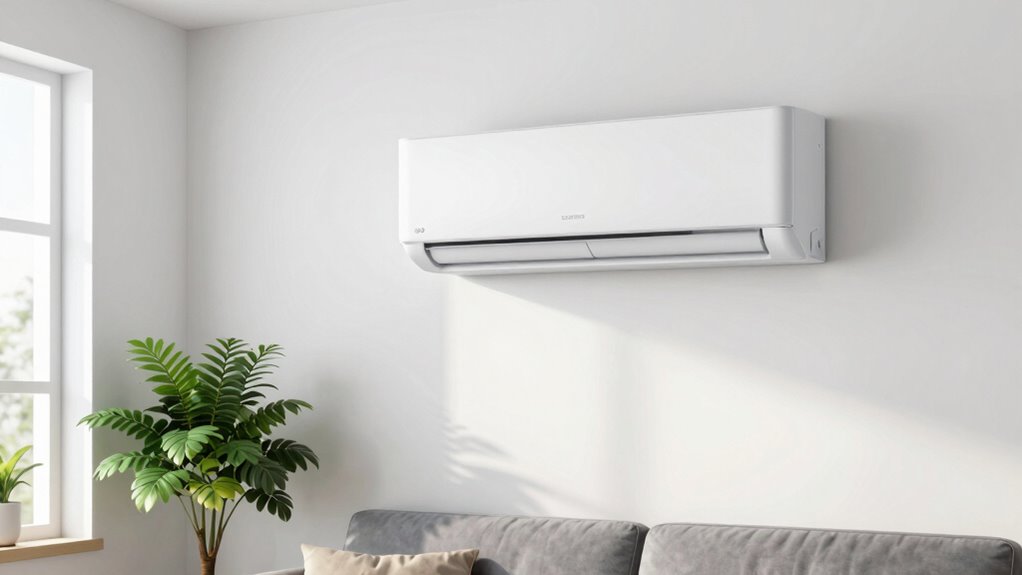

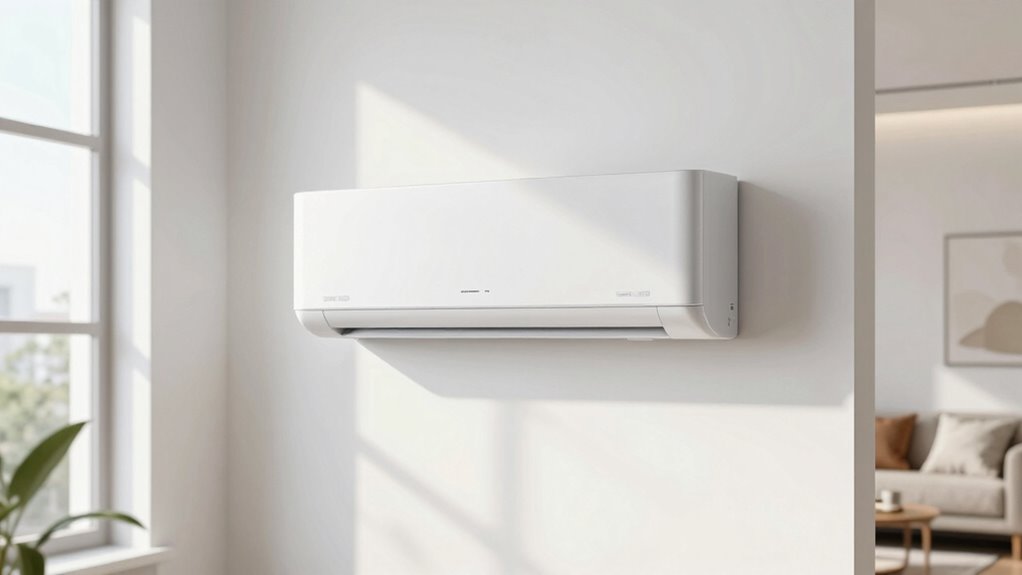
The key mini-split placement rule is to position the indoor unit high on a central wall, avoiding direct sunlight, heat sources, or furniture that blocks airflow. Place the outdoor unit in a shaded, well-ventilated spot with clear space for airflow and minimal debris. Proper placement guarantees efficient operation, reduces noise, and extends your system’s lifespan. Mastering this rule will dramatically improve your comfort and savings—keep exploring for deeper insights that can transform your setup.
Key Takeaways
- Position the indoor unit high on a central wall for even airflow and temperature distribution.
- Ensure outdoor units are placed in shaded, well-ventilated areas with clear airflow paths.
- Keep indoor units away from electronics, direct sunlight, and drafts to optimize efficiency.
- Securely mount units on level, vibration-reducing supports to reduce noise and wear.
- Properly seal refrigerant lines and ensure professional electrical connections to prevent leaks and system issues.
Are you wondering how to guarantee your mini-split air conditioner works efficiently? The key lies in understanding and applying the mini-split placement rule, which can significantly impact your unit’s performance. Proper placement isn’t just about aesthetics or convenience; it directly affects energy efficiency and the overall effectiveness of your cooling or heating system. When you get the placement right, you maximize comfort while minimizing energy bills. The core of this rule emphasizes strategic positioning—ensuring your indoor and outdoor units are installed correctly using proper installation techniques. Doing so helps prevent common issues like uneven cooling, noise problems, or increased energy consumption.
Proper placement and installation ensure your mini-split runs efficiently, saves energy, and provides reliable comfort.
First, focus on where you install the indoor unit. It should be positioned high on a wall, ideally near the center of the room, to promote even air distribution. Avoid placing it directly above electronics or furniture that could block airflow. Keep it away from direct sunlight, heat sources, or drafts, as these can interfere with performance. Proper placement also considers the nail biology of the environment, ensuring unobstructed airflow and optimal temperature regulation. Additionally, understanding proper airflow patterns can help you make informed decisions for optimal system performance. When you follow these guidelines, you improve air circulation and ensure the air mixes well throughout the space, which enhances energy efficiency. Proper installation techniques, such as sealing the refrigerant lines correctly and ensuring the unit is level, are crucial. They prevent leaks that can reduce efficiency and cause the system to work harder than necessary. Furthermore, paying attention to the installation environment helps mitigate external factors that could impact system performance. Understanding the importance of placement can help you make informed decisions for optimal system performance.
A well-placed outdoor unit benefits from local climate considerations, such as avoiding areas prone to excessive heat or cold, which can influence system efficiency and longevity. For the outdoor unit, choose a location that’s shaded and well-ventilated, away from obstructions like shrubs or fences. Good airflow around the outdoor compressor is vital for heat dissipation, which directly affects energy efficiency. Installing the outdoor unit on a solid, level pad keeps vibrations low and noise minimal. When you adhere to these placement rules, your system doesn’t have to strain to do its job, leading to lower energy costs and longer equipment lifespan. Proper placement also considers environmental factors like wind direction and potential debris, which can impact performance and maintenance needs. Ensuring that the outdoor unit has adequate clearance around it also prevents airflow restrictions and facilitates easier maintenance.
The installation techniques you use matter just as much as the placement itself. Professional installation ensures the refrigerant lines are correctly sealed, the units are securely mounted, and electrical connections are safe. This precision prevents energy loss and reduces the risk of breakdowns. When you combine proper placement with expert installation techniques, your mini-split system operates at peak efficiency, saving you money and providing reliable comfort year-round.
In essence, mastering the mini-split placement rule is about strategic positioning and quality installation. It’s a simple concept that can dramatically influence how well your system performs, how much energy it consumes, and how long it lasts. When you pay careful attention to these details, you’re setting yourself up for consistent comfort and energy savings, making the investment in your mini-split system well worth it.

DuctlessAire Outdoor Wall Bracket – Mini Split Mounting Bracket – Ductless Air Conditioner Wall Mount – Mini Split AC/Heating System Accessories for Window AC, HVAC, Heat Pump & More (9000-36000 BTU)
UNIVERSAL COMPATIBILITY: The DuctlessAire Outdoor Wall Bracket is designed to support mini split systems ranging from 9,000 to…
As an affiliate, we earn on qualifying purchases.
As an affiliate, we earn on qualifying purchases.
Frequently Asked Questions
How Long Does It Take to Install a Mini-Split System?
Installing a mini-split system typically takes about one to two days, depending on your home’s size and placement considerations. The installation timeline involves evaluating the best placement for indoor and outdoor units, running refrigerant lines, and mounting the units securely. Factors like wall accessibility and electrical connections can affect the schedule. You should plan for a professional to examine your space and guarantee efficient, proper installation within this timeframe.
Can Mini-Splits Be Installed in Outdoor or Unconventional Spaces?
Yes, you can install mini-splits in outdoor and unconventional spaces. Outdoor installation is common for garages, workshops, and patio areas, offering efficient cooling and heating. For unconventional spaces like tiny cabins or converted sheds, mini-splits work well because they’re flexible and don’t require ductwork. Just guarantee proper placement for airflow and access, and consider weatherproof units if installing outdoors. This makes mini-splits versatile for many unique environments.
What Maintenance Is Required for Optimal Mini-Split Performance?
To keep your mini-split running smoothly, you need to stay ahead of potential issues. Regular maintenance routines are essential — start with filter cleaning every few months to prevent dust buildup. Keep an eye on the outdoor unit for debris and guarantee proper airflow. Don’t ignore strange noises or reduced efficiency; addressing these early can save you costly repairs. Stay vigilant, and your mini-split will perform at its best year-round.
Are There Energy Efficiency Benefits With Proper Placement?
Proper placement of your mini-split offers significant energy savings by optimizing airflow and reducing strain on the unit. Placement considerations, like avoiding direct sunlight and ensuring unobstructed vents, help maintain consistent temperatures and prevent overworking the system. When you position the unit correctly, it operates more efficiently, lowering your energy bills and extending its lifespan. So, investing time in placement pays off in long-term energy efficiency benefits.
How Does the Placement Rule Affect Noise Levels?
Imagine a peaceful home, where noise drifts away quietly. Proper placement considerations greatly reduce noise levels, making your mini-split less intrusive. When you position the unit thoughtfully, it minimizes vibrations and sound transmission, creating a serene environment. This placement rule guarantees noise reduction, so you enjoy comfort without disruption. By paying attention to location, you keep your space tranquil, allowing the mini-split’s cooling power to work smoothly and quietly.

Mini Split Pad with Floor Mounting Base Kit, 38"x18"x3" Mini Split Condenser Pad for 9000-36000 BTU Ductless, Anti-Vibration Mini Split AC Pad for Outside and Floor Mounting Base for Heat Pump
【Premium Materials】Our mini split pad are crafted from injection-molded polypropylene, offering lightweight construction for easy portability and installation….
As an affiliate, we earn on qualifying purchases.
As an affiliate, we earn on qualifying purchases.
Conclusion
By applying this simple mini-split placement rule, you’re not just optimizing comfort—you’re challenging the idea that small changes don’t make a difference. Sometimes, a single strategic decision can transform your space and your experience. Trust the process, test the theory, and see how a thoughtful placement can truly change everything. After all, great results often stem from paying attention to the details others overlook. Your perfect climate is just a placement away.

TADERUILY Anti Vibration Pads Rubber Conditioner Vibration Isolator for Outdoor Mini Split Ground Stand Wall Mounting Bracket Ac Condenser Shock Absorbing Pad Damping Block Air Compressor Feet
Adapts to any mini split air conditioner condensing, support up to 1000 pounds for all 4 pcs.
As an affiliate, we earn on qualifying purchases.
As an affiliate, we earn on qualifying purchases.

2 x 1/4" & 2 x 3/8" Leak-Free SAE Flare Fitting, HVAC Leak Free SAE Flare Connections Eliminates Refrigerant Leaks, Stop Leak Seal kit For Schrader Valve, Refrigeration, HVAC & Mini Split Kit
【Easy Installation】This Leak-Free SAE Flare Fitting kit—a true HVAC must-have—clips directly onto male refrigerant flare or mini flare…
As an affiliate, we earn on qualifying purchases.
As an affiliate, we earn on qualifying purchases.