
To install a heat pump, start by evaluating your home’s heating and cooling needs with a load calculation. Select a properly sized model, prepare the installation site, and gather all materials. Safely disconnect and remove your old system, then install the indoor and outdoor units, connecting refrigerant lines and electrical wiring. After completing setup, test the system to ensure it runs smoothly. Continue exploring each step to master the full installation process.
Key Takeaways
- Conduct a home assessment, including load calculation, insulation, and site evaluation, to determine proper heat pump size and placement.
- Safely disconnect and remove the existing system, ensuring refrigerant recovery complies with EPA regulations.
- Prepare the installation site, ensuring level surfaces, adequate clearance, and proper outdoor environment considerations.
- Install indoor and outdoor units, connecting refrigerant lines, wiring, and ensuring proper insulation and sealing.
- Perform system start-up, check refrigerant charge, test operation, and make airflow and performance adjustments.
Assessing Your Home’s Heating and Cooling Needs
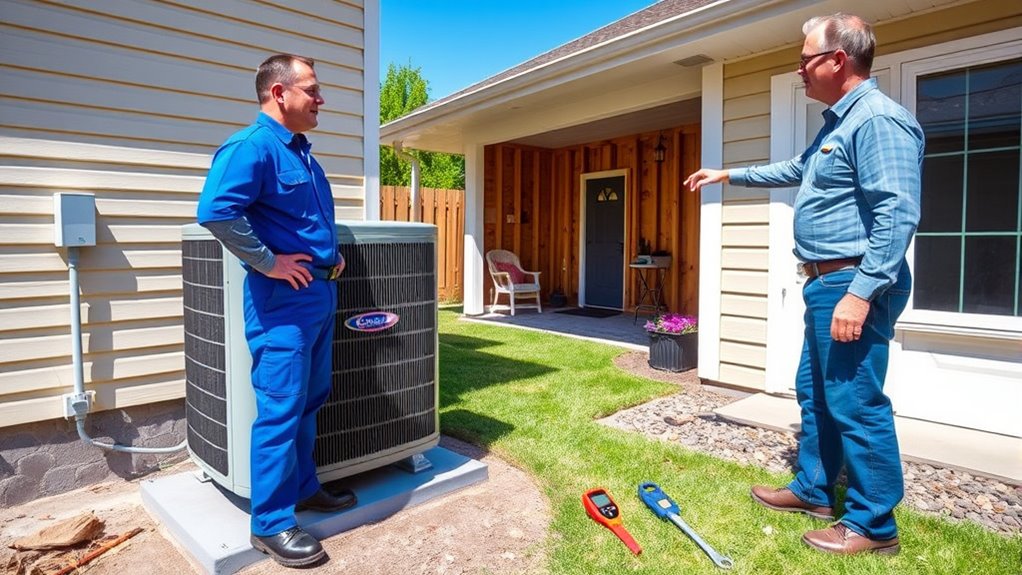
Before installing a heat pump, it’s essential to accurately assess your home’s heating and cooling needs. Start with a manual J load calculation to determine the precise heating and cooling loads, considering factors like insulation quality, window size, and occupancy. Evaluate your home’s insulation and ductwork condition, as these impact efficiency and comfort. Your local climate plays a critical role; colder areas may require different systems than milder regions. Conduct a thorough home assessment to identify air leaks or insulation gaps that could affect performance. Additionally, review your existing heating systems and electrical capacity to ensure compatibility. Using this detailed information and professional recommendations, you can select the appropriate size and type of heat pump, leading to ideal performance and energy savings. Additionally, understanding installation considerations can help prevent future issues and ensure optimal system operation. Incorporating budgeting tips, such as comparing different models and installation costs, can further optimize your investment and avoid unforeseen expenses. Taking into account long-term maintenance requirements can also contribute to the system’s longevity and reliable operation over time. Performing a comprehensive assessment, including local climate factors, ensures your heat pump is tailored to your specific environment and needs. Moreover, considering the outdoor environment can influence the selection of a unit with appropriate durability for your location.
Selecting the Right Heat Pump Model and Size
Choosing the right heat pump model and size is vital for efficiency and comfort. You need to take into account factors like your home’s insulation, size, and compatibility with existing systems. A professional assessment guarantees you select a unit that matches your specific heating and cooling needs. Additionally, selecting a model with advanced technology features can further enhance performance and energy savings. Considering filtration systems, such as air filters, can improve indoor air quality alongside temperature control. Implementing efficient payment solutions can streamline the purchasing process, ensuring timely and secure transactions. Understanding cookie categories and managing your preferences can also improve your browsing experience during the selection process. Consulting portable camping and other related outdoor equipment options can provide insights into durable and reliable systems that suit various environments.
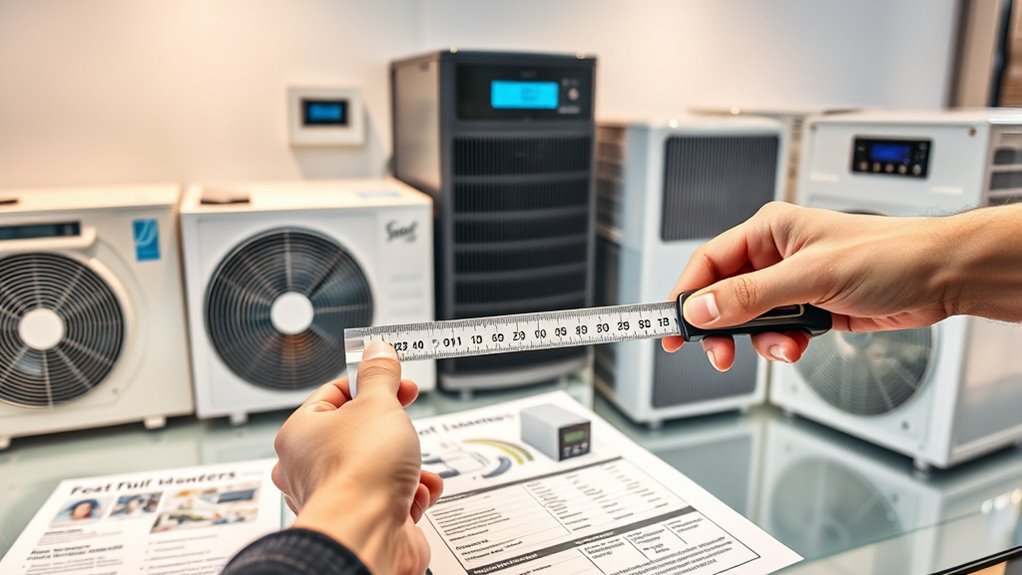
Proper System Sizing
Selecting the right heat pump model and size starts with a precise load calculation that takes into account your home’s insulation, window and door details, square footage, and occupancy. This process, called system sizing, uses a Manual J load calculation to determine your heating and cooling demands accurately. Choosing a properly sized unit ensures maximum performance, energy efficiency, and a longer system lifespan by preventing issues related to undersizing or oversizing. An accurately sized heat pump matches your home’s specific load, providing consistent comfort without short cycling or excessive energy use. Oversized units tend to cycle frequently and reduce dehumidification, while undersized units struggle during extreme weather. Proper system sizing guarantees your heat pump operates within its designed capacity, delivering reliable comfort and efficiency over its lifetime. Additionally, understanding refrigerant management practices can help inform healthier choices for your household.
Home Insulation Impact
Home insulation plays a significant role in determining the right heat pump size and model for your house. Good insulation reduces heat loss in winter and heat gain in summer, allowing a smaller or more efficient heat pump to meet your needs. Poor insulation causes increased thermal leakage, which can lead to oversized equipment, inefficiency, and higher energy costs. Upgrading your insulation before installation improves system performance, lowers energy bills, and extends equipment lifespan. Accurate load calculations depend heavily on insulation quality; better insulation decreases heating and cooling loads, ensuring you select a properly sized unit. Ignoring insulation can result in comfort issues, increased energy costs, and system short cycling. Proper insulation is essential for optimizing heat pump efficiency and ensuring reliable, cost-effective operation. Additionally, understanding building regulations can help ensure your insulation upgrades and heat pump installation comply with local standards. Furthermore, considering ventilation and air sealing can enhance overall home comfort and energy savings. Proper insulation not only improves energy efficiency but also complements other energy-saving measures for maximum benefit.
Compatibility With Existing Systems
Ensuring your new heat pump works seamlessly with your existing system requires verifying that its size and capacity match your home’s calculated heat load. Compatibility depends on evaluating your existing systems, including ductwork, electrical systems, and refrigerant lines. Choosing a model within 10-20% of your heating and cooling needs optimizes performance and energy efficiency. You may need to upgrade components like ductwork or electrical systems to support the new unit. Confirm that the heat pump’s system specifications align with your current indoor and outdoor units to facilitate smooth system integration. Consulting with your installer helps ensure the chosen model fits your existing systems and any planned upgrades, preventing compatibility issues and ensuring efficient operation. Proper installation and adherence to manufacturer guidelines are essential for safe and effective operation, as outlined in installation guides.
Preparing the Installation Site and Gathering Materials
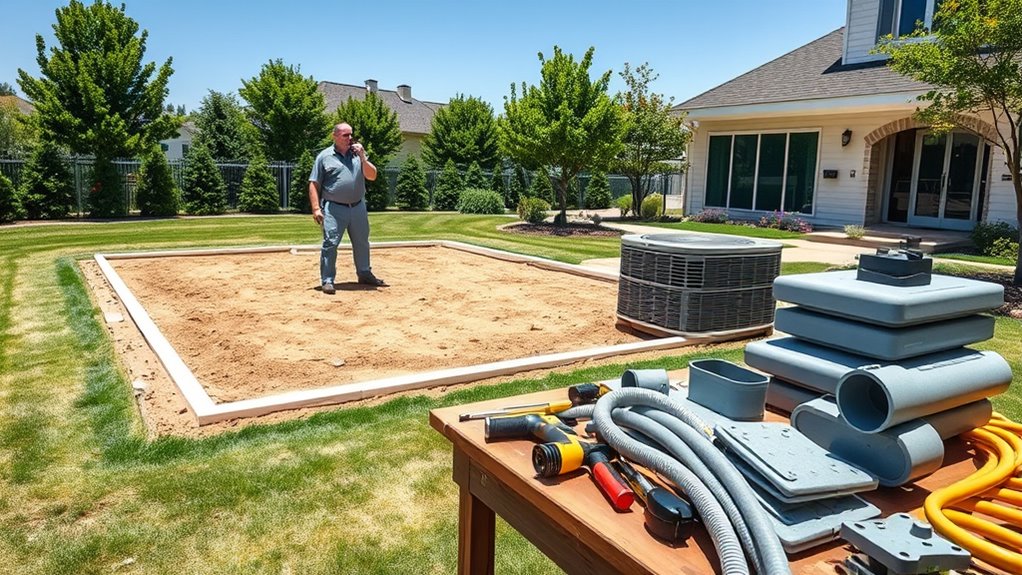
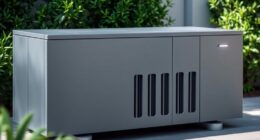
Before installing your heat pump, you need to prepare the site and gather all necessary materials. Choose a level, stable outdoor area with at least 24 inches of clearance around the unit to ensure proper airflow and easy maintenance. Place a durable composite pad about 9 inches above ground to prevent snow and ice buildup and provide stability. Make sure the installation site has good ventilation, is free from obstructions, and isn’t exposed to excessive debris or shade that could reduce efficiency. Verify there’s enough indoor space for mounting the air handler or coil, considering duct routing and service access. Gather all materials beforehand, including refrigerant line sets, electrical wiring, mounting brackets, insulation, and tools, to streamline the process and adhere to safety precautions during preparation. Additionally, understanding glycolic acid products can help maintain healthy skin during installation, especially if exposure to environmental elements affects your skin’s condition. Ensuring proper installation site selection can optimize your heat pump’s performance and longevity, and considering environmental factors can further enhance efficiency and durability. Proper site evaluation also involves assessing potential shade exposure that might impact the unit’s cooling capacity over time. It’s also advisable to check local building codes to ensure compliance and safety standards are met.
Disconnecting and Removing the Old System
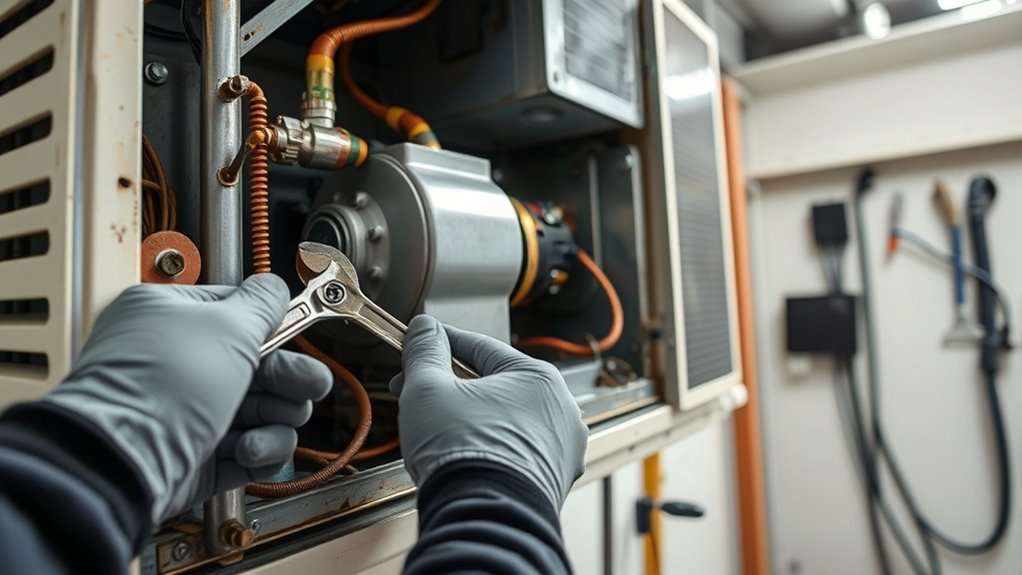
Before removing the old heat pump, you need to safely recover the refrigerant using EPA-approved equipment to prevent environmental damage. Next, disconnect the electrical wiring, including control and power cables, and remove any disconnect boxes. Finally, carefully detach the outdoor unit and disconnect the refrigerant lines, ensuring all connections are clean and ready for reuse or replacement. Incorporating AI-powered diagnostic tools can help identify potential issues before installation, ensuring optimal system performance. Additionally, verifying the system compatibility and ensuring all components are properly rated can prevent future operational problems. Employing sound healing science principles, such as monitoring vibrations and frequencies, can also be useful in diagnosing mechanical issues during the removal process. Always double-check that the refrigerant lines are free from obstructions and leaks before proceeding with installation, and inspecting the cooling capacity ensures the new system will meet your heating and cooling needs.
Safely Recover Refrigerant
To safely recover refrigerant, you need to connect a recovery machine to the system’s service ports and use EPA-approved recovery tanks. This guarantees refrigerant is extracted without harming the environment. Follow EPA regulations and safety measures, monitoring pressure gauges carefully. Use hoses rated for the refrigerant type to prevent leaks, and transfer refrigerant into a recovery tank designed for safe containment. Properly removing refrigerant before system removal avoids environmental contamination and legal issues. Additionally, refrigerant recovery procedures should be followed precisely to ensure safety and compliance. Always verify that pressure levels return to ambient before disconnecting components. Ensuring proper safety protocols are followed minimizes risks during the process.
Disconnect Electrical Components
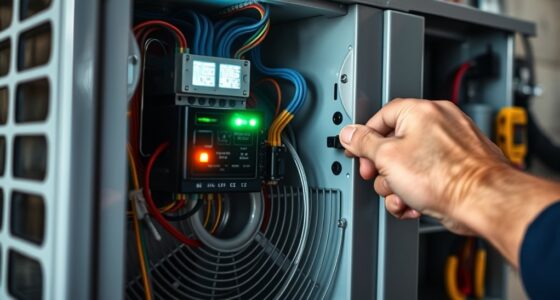
Turning off the power supply at the main electrical panel is your first step in safely disconnecting the old heat pump system. Locate the circuit breaker controlling the unit and switch it to the OFF position, ensuring the system is de-energized. Next, disconnect the electrical wiring from the heat pump or air handler, noting wire colors and connections for reference. Remove the disconnect box or safety switch attached to the outdoor unit, confirming it’s fully de-energized before proceeding. Carefully detach the electrical whip or conduit from the equipment, making sure all wiring is safely isolated. Store reusable wiring components properly. Before moving on, verify all electrical components are fully disconnected, and the circuit is safely de-energized, ensuring a secure removal process.
Remove Old Equipment
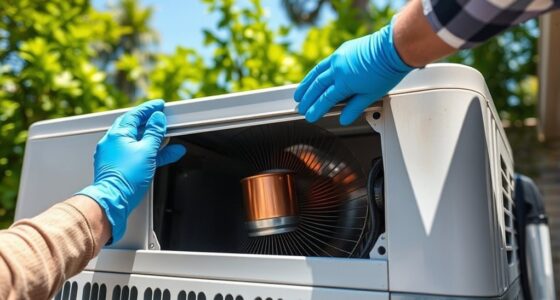
Begin by safely recovering the refrigerant from the existing heat pump system using EPA-compliant recovery machines and tanks. Once the refrigerant is removed, you can disconnect the old unit’s copper lines, guaranteeing there are no leaks. Next, detach the electrical wiring and remove the disconnects and safety disconnect boxes from the outdoor unit. Carefully disassemble and detach the indoor evaporator coil from the sheet metal plenum or furnace, disconnecting all control wiring and duct connections. With the refrigerant line set and equipment disconnected, gently remove the old outdoor heat pump unit, detaching all mounting hardware. Take your time to ensure all components are properly removed, clearing space for the installation of your new heat pump. Proper removal prevents damage and prepares your system for the next steps.
Installing the Indoor and Outdoor Units

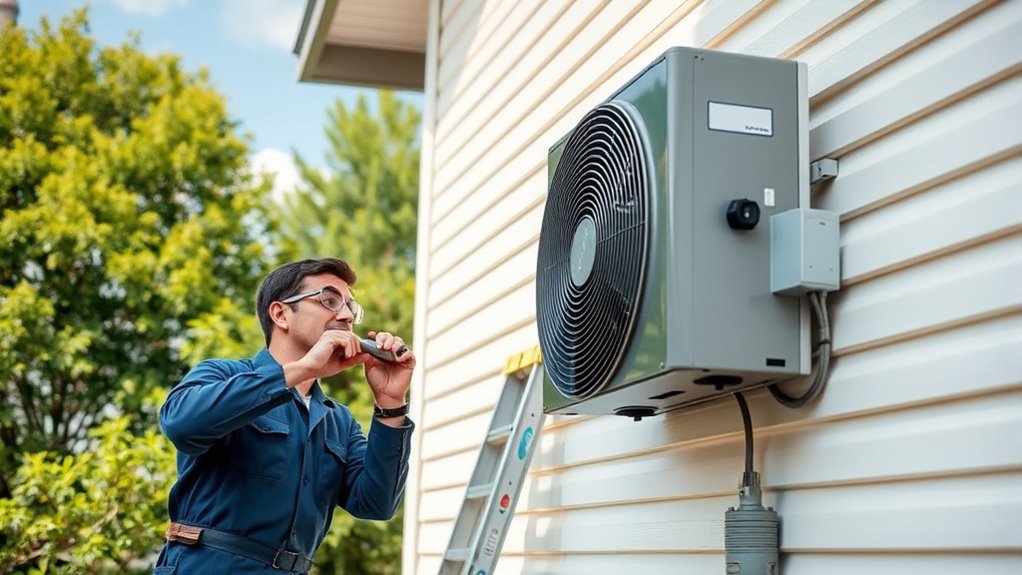
Installing the indoor and outdoor units requires careful placement to guarantee efficient operation and easy maintenance. Mount the indoor unit on a secure, level wall near the outdoor condenser, ensuring it’s accessible for future servicing. Place the outdoor unit on a stable, level composite pad or concrete slab, preferably where airflow isn’t obstructed and drainage is good. During the installation process, connect the refrigerant lines from the indoor coil to the outdoor unit’s service valves, braze the connections with nitrogen flow, and insulate the lines to prevent energy loss. Run electrical wiring between the units according to the manufacturer’s specifications, making sure all connections are secure and properly grounded. Once both units are securely attached, proceed with system startup and testing to guarantee optimal performance.
Connecting Refrigerant Lines and Electrical Wiring
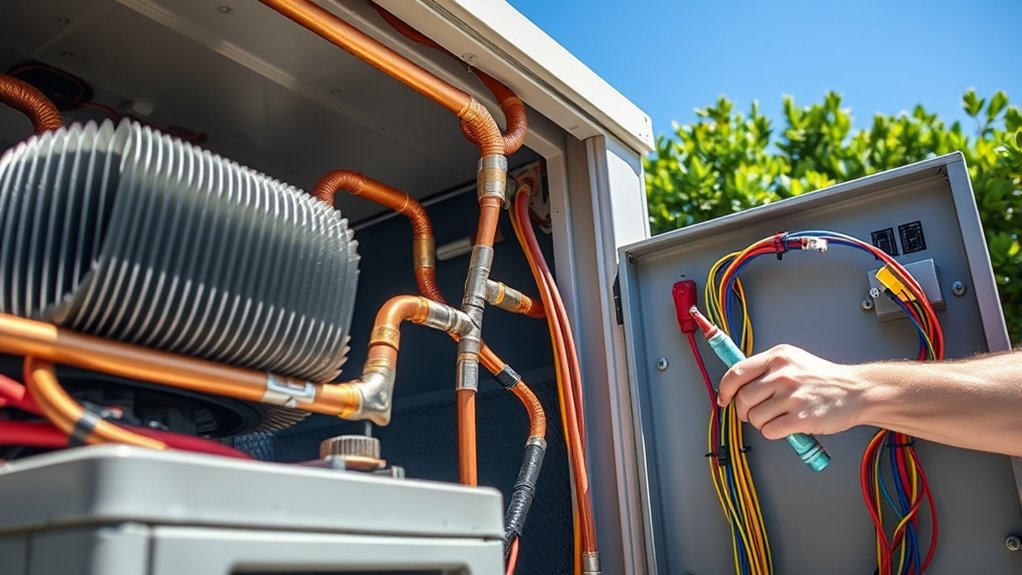
Connecting refrigerant lines and electrical wiring is a critical step that guarantees your heat pump operates efficiently and safely. First, attach the refrigerant lines to the service valves and braze them using nitrogen flow to ensure a leak-free seal at a temperature of at least 1200°F. After brazing, insulate the refrigerant pipes to prevent heat loss and condensation. Next, perform a vacuum pull on the lines using a micron gauge, aiming for below 100 microns to eliminate moisture. For electrical wiring, follow the wiring diagrams to connect control wires from the thermostat to the control board, ensuring proper polarity and secure connections. Verify all electrical connections comply with local codes, install a disconnect box if needed, and test the system’s power supply and control signals before proceeding.
Testing the System and Ensuring Proper Operation
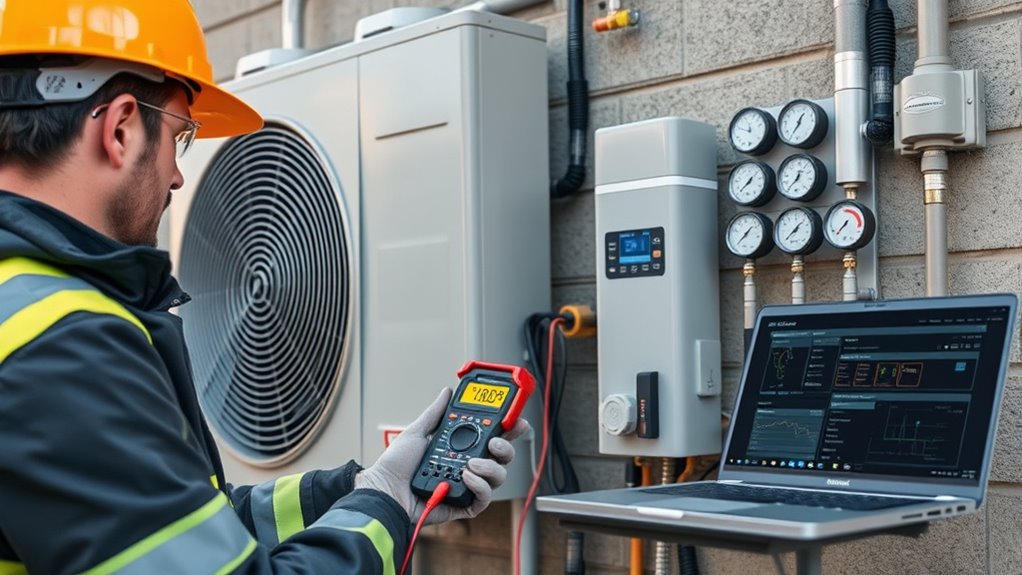
Once the heat pump is installed and wired, it’s essential to power it on and let it run for at least 15 to 20 minutes. During this initial period, you’ll check the system performance, including airflow and electrical connections, to guarantee everything operates smoothly. Verify the refrigerant charge by measuring superheat or subcooling to confirm proper calibration. Inspect safety devices like pressure switches to ensure they activate correctly. Conduct thorough system testing, including heating, cooling, defrost, and emergency heat functions. Pay attention to thermostat responsiveness, making sure it switches modes properly. Finally, walk through the setup with the homeowner, explaining basic operation and maintenance, making sure they’re comfortable with the system before completing the installation.
Finalizing the Setup and Performing System Checks
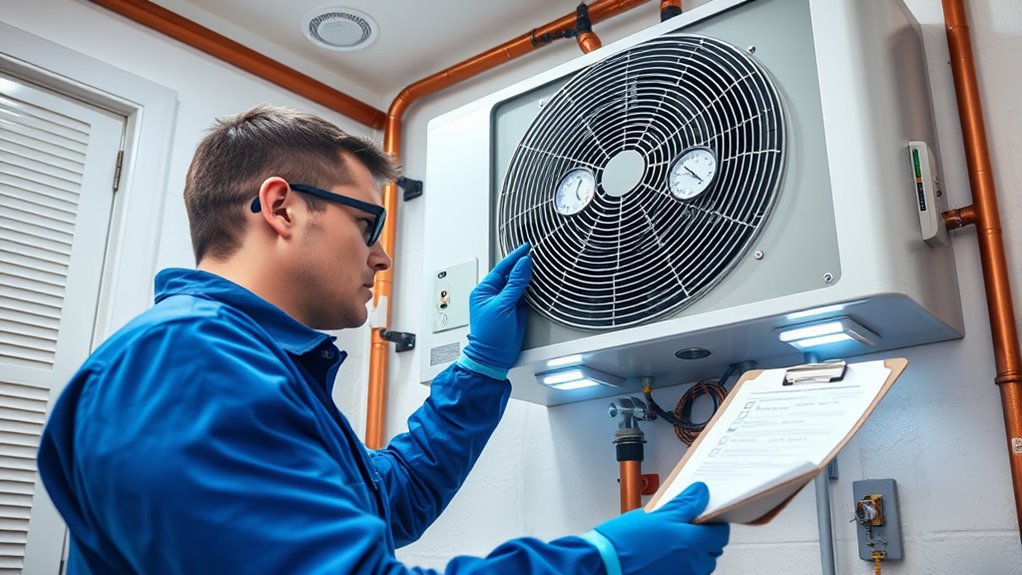
After confirming that the system is running smoothly during the initial 15 to 20-minute test, it’s important to extend the testing period up to 45 minutes. This allows you to perform thorough system checks and finalize setup. Focus on:
- Running diagnostics to verify thermostat operation, safety switches, and control sequences.
- Conducting leak testing and verifying refrigerant charge with manufacturer-specific procedures.
- Adjusting airflow by modifying blower speeds or dampers to meet efficiency standards.
- Confirming control verification, static pressure, and proper refrigerant levels to ensure ideal performance.
Document all test results and settings for warranty purposes. After completing these checks, walk the homeowner through system operation, controls, maintenance, and support contact info.
Frequently Asked Questions
What Is the Process of Installing a Heat Pump?
You start by evaluating your site, getting permits, and preparing a level pad for your heat pump. HVAC pros then disconnect the old system, recover refrigerant, and remove equipment. They install new refrigerant lines, connect electrical wiring, and guarantee airtight brazing. Finally, they charge the system, test for leaks, calibrate, and make sure your heat pump runs efficiently for heating and cooling your home.
Can I Install a New Heat Pump Myself?
You might be tempted to install a new heat pump yourself, but it’s not advisable. You’ll need specialized tools, knowledge of electrical wiring, refrigerant handling, and system charging. Without proper training, you risk damaging the system, voiding warranties, or violating local codes. Handling refrigerants is also dangerous and often illegal without certification. To guarantee safety, performance, and compliance, it’s best to hire a licensed HVAC professional.
What Is the 20 Degree Rule for Heat Pumps?
Think of your heat pump as a reliable friend who works best when the weather’s mild. The 20 Degree Rule means your system stays efficient when outdoor temps are within 20°F of your indoor setpoint. When it drops beyond that, like a storm brewing, your heat pump struggles, and you might need backup heating. This rule helps you know when to rely on your system or add extra warmth.
What Is Required for Heat Pump Installation?
For heat pump installation, you need to remove existing HVAC systems, disconnect electrical wiring, and safely recover refrigerant following EPA standards. Connect the outdoor unit and indoor coil with insulated, leak-free refrigerant lines, ensuring proper airflow and clearance. Electrical wiring must meet local codes, with a dedicated circuit breaker and thermostat connection. Place the outdoor unit on a stable pad, then test refrigerant pressure, airflow, and system operation in heating and cooling modes.
Conclusion
Now that you’ve installed your heat pump, you might feel confident in your DIY skills. Remember, it’s just like a puzzle—each piece must fit perfectly for ideal comfort and efficiency. While the system is now in place, neglecting regular maintenance can turn your energy-saving investment into a costly mistake. So, enjoy the warmth and coolness, but stay vigilant—your heat pump’s performance depends on your ongoing care.