
To boost your home’s efficiency with DIY projects, start by adding or upgrading insulation in your attic, walls, or floors to reduce heat transfer. Seal gaps around windows, doors, and vents with weatherstripping or caulk to prevent drafts. Consider upgrading or sealing double-pane windows with storm windows or films to increase insulation. Combining these simple tasks can lower your energy bills and improve comfort. Explore more ways to make your home even more efficient by continuing to explore effective weatherization ideas.
Key Takeaways
- Upgrade attic, wall, and floor insulation with batts or blown-in materials to improve thermal resistance.
- Seal gaps around windows, doors, and vents with weatherstripping and caulk to prevent drafts.
- Replace or upgrade double-pane window seals, or add storm windows and film for enhanced insulation.
- Combine insulation and window sealing for a comprehensive approach to reduce heating and cooling costs.
- Use basic tools like caulk guns and measuring tapes for cost-effective DIY weatherization to boost home efficiency.
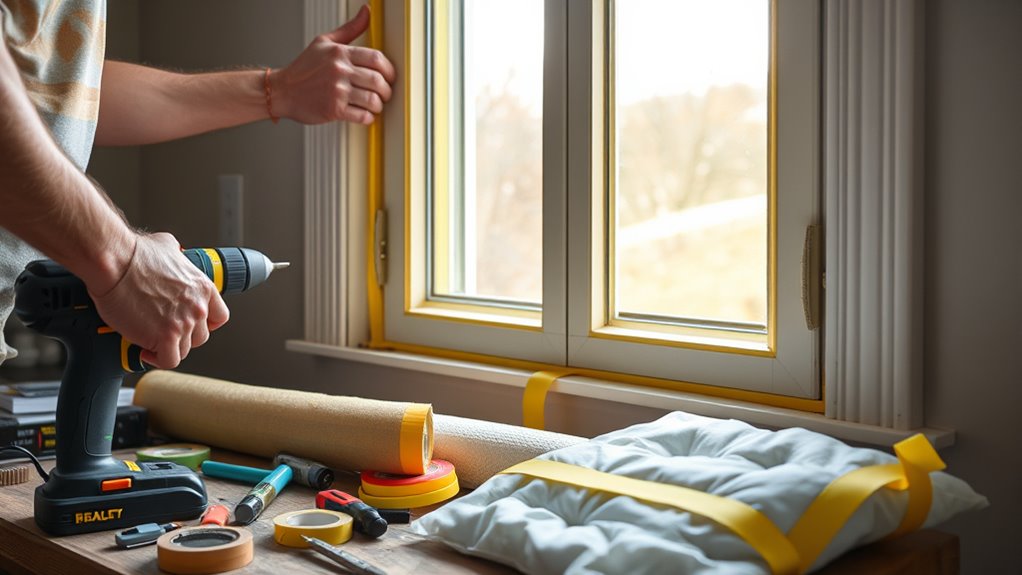
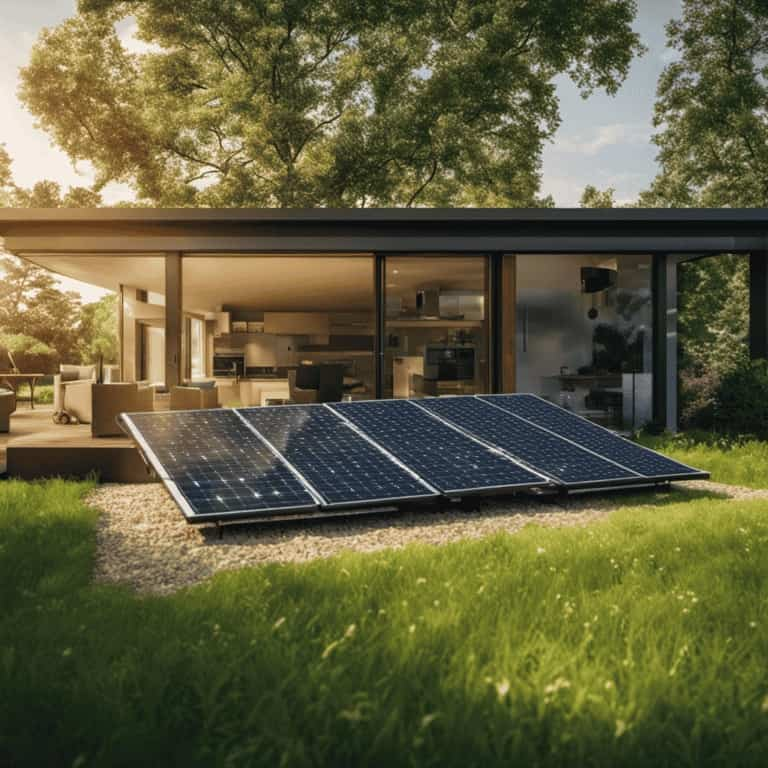
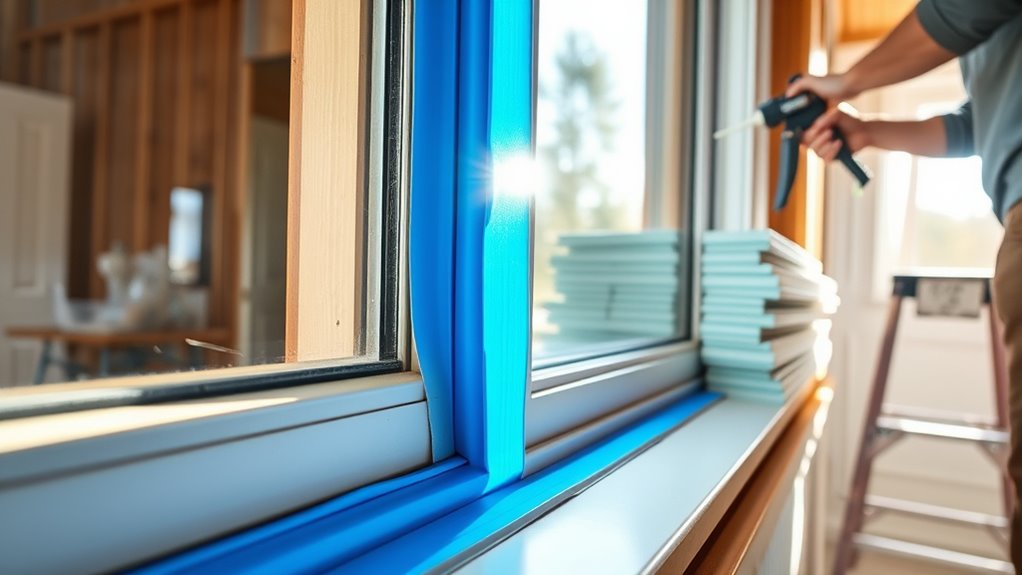
Are you looking for ways to cut your energy bills and make your home more comfortable? Tackling weatherization projects yourself is a smart way to improve energy efficiency without breaking the bank. One of the most effective methods is focusing on insulation techniques. Proper insulation keeps warm air inside during winter and blocks heat from entering during summer. You can start by inspecting your attic, walls, and floors to identify areas where insulation might be lacking or compressed. Adding or upgrading insulation batts or blown-in insulation can considerably reduce heat transfer. It’s a straightforward task that doesn’t require specialized skills, and it pays off in lower heating and cooling costs. Don’t forget to check the insulation’s R-value, which indicates its thermal resistance; higher R-values mean better insulation. Sealing gaps and cracks around windows, doors, and vents complements your insulation efforts. This is where window sealing becomes vital. Drafty windows can undo all your insulation work by letting in cold air or letting conditioned air escape. You can use weatherstripping or foam tape to seal gaps around window frames and sashes. For larger gaps, applying caulk can create a tight seal and prevent air leaks. If you notice condensation or fogging between double-pane windows, it might be time to replace or upgrade your window seals altogether. Additionally, installing storm windows or using window film can add another layer of insulation. These simple upgrades are cost-effective and easy to implement. When sealing windows, ensure that you remove any old, cracked weatherstripping and thoroughly clean the surface before applying new materials. This guarantees better adhesion and longer-lasting results. Remember, sealing your windows not only improves comfort but also enhances your home’s overall energy efficiency. Pairing this with insulation improvements in your attic and walls creates an extensive weatherization approach. A well-insulated and sealed home reduces the workload on your HVAC system, which means less energy consumption and lower utility bills. Incorporating industry-transforming techniques like AI automation can further optimize your home’s energy management systems. Keep in mind that these DIY projects require some basic tools like a caulk gun, putty knife, and measuring tape. Take your time to assess each area carefully, and don’t rush the process. The effort you put into sealing gaps and upgrading insulation will be visible in your reduced energy bills and increased comfort. Plus, you’ll enjoy fewer drafts and a more consistent indoor temperature throughout the year. Weatherization doesn’t have to be complex; with simple techniques like insulation upgrades and window sealing, you can make a big difference and enjoy a more efficient, cozy home.
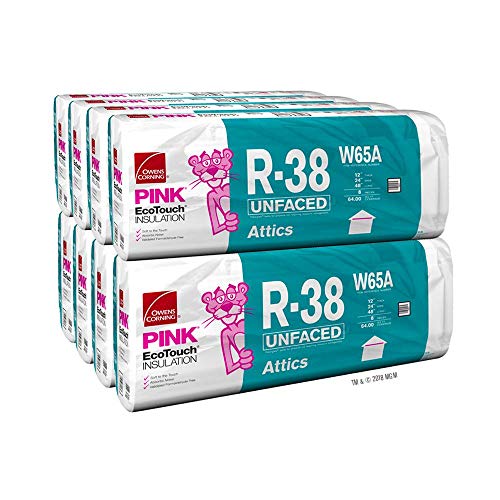
Owens Corning 512 SQFT 8 Bags of R-38 Unfaced 24 by 48 Fiberglass Batt Fits 2X12 attic
Attic This product is recommended for an attic application. Place this in between your trusses. For unfaced insulation…
As an affiliate, we earn on qualifying purchases.
As an affiliate, we earn on qualifying purchases.
Frequently Asked Questions
What Safety Precautions Should I Take During Weatherization Projects?
You should always wear safety gear like gloves, goggles, and a mask to protect yourself from dust, mold, and chemicals. Make certain proper ventilation by opening windows and using fans to avoid inhaling fumes or dust. Keep your workspace organized to prevent accidents, and handle insulation or chemicals carefully. Stay alert, follow instructions, and never skip safety precautions to keep yourself safe during weatherization projects.
How Long Does Each Weatherization Project Typically Take?
Time, like a thief in the night, sneaks up on your weatherization plans. Typically, a simple project like sealing leaks takes a few hours, while more extensive tasks like insulation installation might span a weekend. Your success depends on proper project planning and material sourcing, which can streamline the process. Expect to invest anywhere from a couple of hours to several days, depending on the project’s scope and your experience level.
Are There Specific Tools Recommended for DIY Weatherization?
For DIY weatherization, you’ll need essential tools like a utility knife, caulk gun, and insulation blower for insulation installation. A staple gun can help attach weatherstripping, while a pry bar assists with sealing gaps. When it comes to sealant selection, choose high-quality, weatherproof caulk suitable for your specific needs, whether for cracks, gaps, or vents. These tools make installation easier and guarantee your home stays more energy-efficient.
Can Weatherization Projects Be Reversed or Modified Later?
Think of weatherization projects like building with LEGO bricks—you can easily take apart or modify them later. Reversibility concerns vary; some fixes, like sealing gaps, are simple to undo, while others, like installing foam insulation, may be more challenging. Luckily, most projects offer modification options, so if your home’s needs change, you can adapt your efforts without starting from scratch, ensuring flexibility in your energy-saving journey.
What Are the Estimated Costs for Common DIY Weatherization Tasks?
You can expect to spend around $100 to $500 on DIY weatherization projects, depending on the scope. A typical cost breakdown includes material expenses like weatherstripping ($20-$50), insulation ($50-$150), caulk and sealants ($10-$30), and tools. Smaller projects cost less, while more extensive work with better materials may push costs higher. Planning ahead helps you stay within your budget and maximize efficiency.

118” Wedge-Shape Foam Window Weather Stripping Door Seal Strip,Soundproofing Frame Winter Insulation Tape for Exterior Front Door,Noise Cancelling Window Inserts,Door Gap Filler Light Blocker,White
Upgraded Wedge Design: This window draft stopper features an upgraded wedge design, tapering from 5/32" to 11/32" (0.16"–0.35")…
As an affiliate, we earn on qualifying purchases.
As an affiliate, we earn on qualifying purchases.
Conclusion
Taking on DIY weatherization projects is like giving your home a warm hug, making it more comfortable and energy-efficient. With just a few simple steps, you can stop drafts in their tracks and save money while protecting the planet. Remember, each small fix is a building block toward a cozier, more sustainable home. So roll up your sleeves and turn your house into a fortress of warmth—your wallet and the environment will thank you.

Vinyl Double Hung Sliding Window, 24" x 36" Household Window with Double-Pane Insulated Tempered Glass and Fiberglass Screen for House, Mobile Home (White)
Double Hung Window Design: The upper and lower sashes slide independently, allowing flexible adjustment of air intake and…
As an affiliate, we earn on qualifying purchases.
As an affiliate, we earn on qualifying purchases.
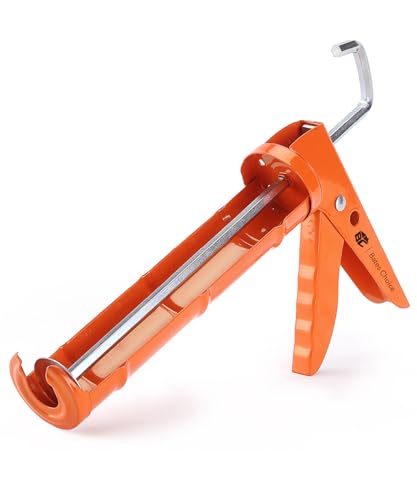
Bates – Caulking Gun, 10:1 Thrust Ratio, Silicone Gun, Dripless Caulk Gun, Silicone Caulk Gun, Hand Caulking Guns
Introducing the Bates caulking gun, your versatile companion designed to seamlessly dispense a variety of materials – from…
As an affiliate, we earn on qualifying purchases.
As an affiliate, we earn on qualifying purchases.