
Retrofitting your existing home with geothermal heat pumps is a smart way to boost energy efficiency and lower utility bills. You’ll replace your old system with a sustainable solution that uses the earth’s steady underground temperature for heating and cooling. The process involves site assessment, drilling or trenching, and installing a ground loop, all designed to maximize system performance. Keep exploring to discover key steps and benefits for making your home greener and more efficient.
Key Takeaways
- Conduct a professional site assessment to determine the suitability and optimal ground loop type for the existing home.
- Choose the appropriate ground loop system (horizontal, vertical, or pond/lake) based on available space and soil conditions.
- Plan and execute trenching or drilling to install underground pipes at proper depths for efficient heat exchange.
- Ensure proper sealing and installation techniques to prevent leaks and maximize system performance.
- Integrate the geothermal heat pump with existing HVAC systems to improve energy efficiency and reduce operational costs.
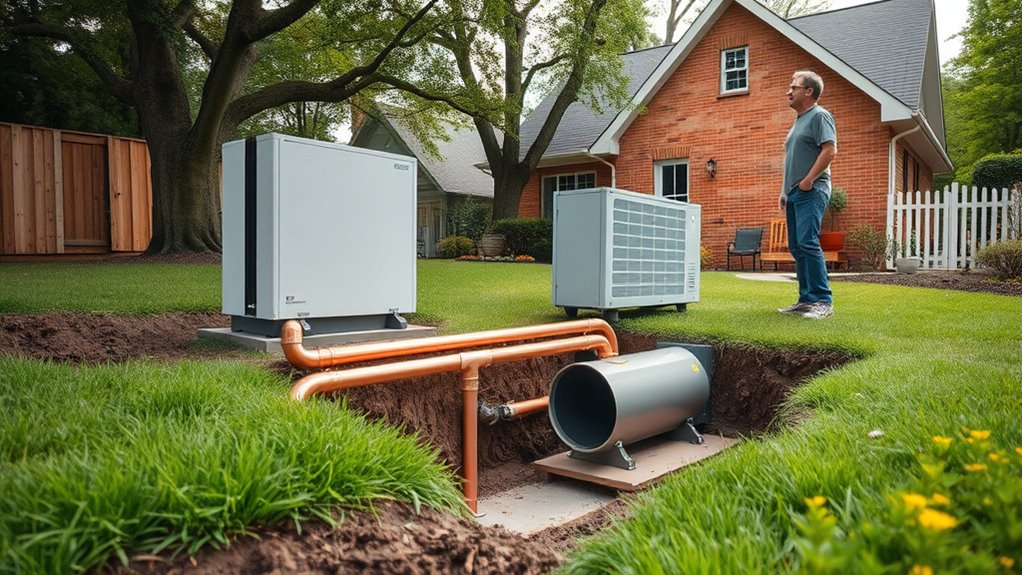
Are you considering ways to make your home more energy-efficient and environmentally friendly? If so, retrofitting your existing house with a geothermal heat pump can be a smart move. While the idea of installing new systems might seem daunting, understanding the process can help you see how straightforward it can be, especially when focusing on ground loop installation and system efficiency. The ground loop is the heart of a geothermal system, and its proper installation is essential for maximizing performance. This loop, buried underground, transfers heat between your home and the earth, providing a sustainable source of heating and cooling. When you opt for a well-designed ground loop, you guarantee that your system operates efficiently year-round, reducing your reliance on traditional HVAC methods and lowering energy bills.
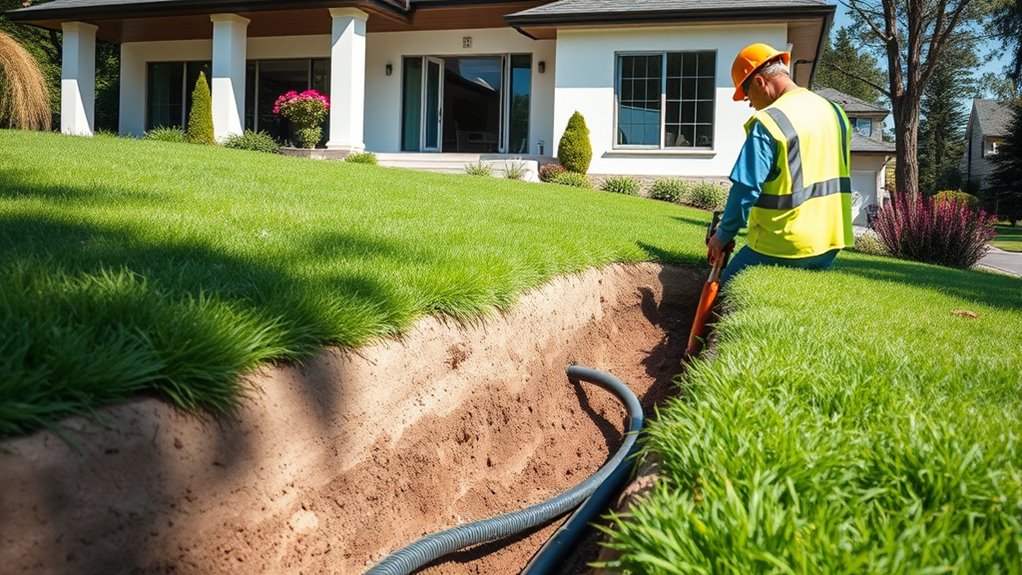
The process begins with site assessment and planning. A professional evaluates your property to determine the best type of ground loop—whether it’s horizontal, vertical, or pond/lake loop—based on space, soil conditions, and climate. Once the appropriate loop design is chosen, ground loop installation can commence. This step involves trenching or drilling to lay the pipes underground, ensuring they are deep enough to access stable ground temperatures. Proper installation is essential because it directly impacts the system’s efficiency. If the loops aren’t correctly installed or if there are leaks, your geothermal system won’t perform at its best, leading to higher energy consumption and increased costs. Additionally, advances in AI-driven analytics are helping optimize system designs for different environments, further improving efficiency.
Site assessment and proper installation are crucial for optimal geothermal system efficiency.
As you move through the retrofit process, it’s important to understand that a well-executed ground loop installation maximizes the system’s efficiency. When the loop is correctly buried and sealed, it provides a consistent temperature exchange with the earth, making your heating and cooling more reliable and energy-efficient. This consistency allows your geothermal heat pump to operate with less strain, reducing wear and tear and extending its lifespan. Additionally, a properly installed loop minimizes maintenance needs, saving you money over time.
Retrofitting your home with a geothermal heat pump is an investment that pays off through long-term savings and environmental benefits. The key to accessing these benefits is ensuring that the ground loop installation is done meticulously, as it greatly influences overall system efficiency. Once in place, your geothermal system can deliver stable, efficient heating and cooling, making your home more comfortable while reducing your carbon footprint. By focusing on quality installation and understanding the importance of the ground loop, you’ll set your retrofit up for success, enjoying the advantages of clean, renewable energy for years to come.
Frequently Asked Questions
How Long Does a Typical Geothermal Retrofit Take?
A typical geothermal retrofit takes about 1 to 3 days, depending on your home’s size and the drilling process involved. You’ll see quick progress as the drilling team installs the loop system, followed by system integration where the heat pump connects seamlessly to your existing heating and cooling setup. Overall, with efficient planning, you can enjoy the benefits of geothermal energy within a few days.
What Is the Average Cost of Retrofitting an Existing Home?
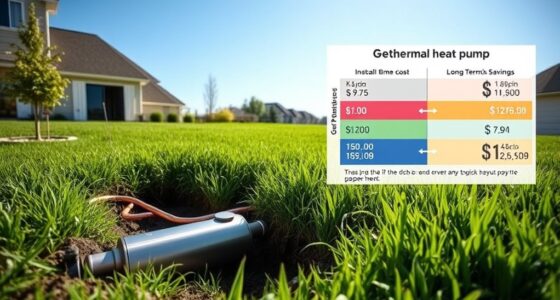
You’ll typically spend between $10,000 and $30,000 to retrofit your home with a geothermal heat pump. Cost factors include the size of your property, soil conditions, and system type, while financing options can help make this investment more manageable. You can explore grants, loans, or tax incentives to offset costs, ensuring you get the most value out of your upgrade.
Can All Home Types Be Retrofitted With Geothermal Systems?
Not all home types can be retrofitted with geothermal systems due to type limitations and structural challenges. For example, homes with limited land space or poor soil conditions may not support the necessary underground loops. Additionally, older or poorly constructed homes might face structural challenges that complicate installation. It’s essential to evaluate your home’s specific features and consult with a geothermal expert to determine feasibility and options.
How Disruptive Is the Installation Process for Existing Homes?
The installation process can be somewhat disruptive for your home. You’ll hear drilling noise as they bore into the ground for the geothermal loops, which can be loud and may take a few days. Structural modifications might be needed, especially for indoor equipment placement, but overall, the process is manageable. You’ll want to plan ahead for the noise and any minor disruptions to your daily routine.
Are There Any Specific Maintenance Requirements Post-Retrofit?
Think about your geothermal system like a well-oiled machine—doesn’t it need regular check-ins? You’ll want to follow a maintenance schedule that includes annual inspections and filter changes to keep everything running smoothly. Proper upkeep not only ensures system longevity but also prevents costly repairs down the line. Are you prepared to invest a little time now for reliable, efficient heating and cooling for years to come?
Conclusion
Retrofitting your residence with a geothermal heat pump is a smart, sustainable, and stylish step toward switching to a more efficient, eco-friendly energy source. By blending bold benefits with manageable modifications, you can make a meaningful move toward a greener future. So, seize the chance to save, support, and sustain—switching to geothermal isn’t just smart, it’s a sustainable solution that starts with you. Take action today for a healthier, happier home tomorrow.