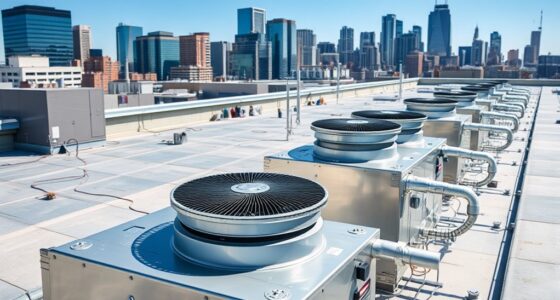
Presenting our ultimate guide for diagnosing and fixing HVAC heat pumps. This step-by-step approach will help you pinpoint and address frequent problems effectively.
- Evaluating thermostat controls
- Checking for airflow problems
Testing refrigerant levels Assessing electrical connections Troubleshooting defrosting and ice build-up
With our technical, precise, and detailed approach, you’ll be able to diagnose and repair your heat pump with confidence.
Let’s dive in and get your HVAC system back on track.
Key Takeaways
- HVAC heat pumps transfer heat from one place to another and provide both heating and cooling capabilities.
- Common issues with heat pumps include insufficient heating or cooling, noisy operation, frequent cycling, and frozen coils.
- The troubleshooting process involves gathering information, inspecting components, testing electrical circuits, and following a structured approach.
- Evaluating the thermostat and controls, checking for airflow and filter problems, and ensuring proper airflow are important steps in troubleshooting heat pump issues.
Understanding the Basics of HVAC Heat Pumps
We will begin by explaining how HVAC heat pumps work and their basic components. HVAC heat pumps are mechanical systems that transfer heat from one place to another, providing both heating and cooling capabilities. The basic functioning of a heat pump involves extracting heat from the outdoor air or ground and transferring it indoors during the winter, and vice versa in the summer. This is made possible through the use of refrigerant, which absorbs and releases heat as it undergoes phase changes.
The main components of a heat pump include the compressor, condenser, evaporator, and expansion valve. Understanding how these components work together is crucial for maintaining energy efficiency and ensuring optimal performance.
Now that we’ve covered the basics of HVAC heat pumps, let’s move on to identifying common heat pump issues.
Identifying Common Heat Pump Issues
Let’s now delve into the common issues that can arise with heat pumps. When troubleshooting these devices, it’s important to be familiar with the most common heat pump malfunctions and the corresponding common troubleshooting techniques. Here are four common issues to be aware of:
Insufficient heating or cooling: This can be caused by a dirty air filter, low refrigerant levels, or a malfunctioning compressor. Check and clean the air filter, ensure proper refrigerant levels, and inspect the compressor for any faults.
Noisy operation: Unusual noises such as grinding, squealing, or rattling can indicate issues with the fan motor, blower, or compressor. Inspect these components for any damage or wear and tear.
Frequent cycling: If the heat pump turns on and off frequently, it may be due to a faulty thermostat, improper refrigerant charge, or a blocked airflow. Check the thermostat settings, ensure proper refrigerant levels, and clear any obstructions in the airflow.
Frozen coil: A frozen evaporator coil can result from restricted airflow, low refrigerant levels, or a malfunctioning defrost control. Clear any obstructions in the airflow, check refrigerant levels, and inspect the defrost control for any faults.

By identifying and addressing these common issues, you can effectively troubleshoot heat pump problems.
Now, let’s move on to the step-by-step troubleshooting process.
Step-by-Step Troubleshooting Process
Starting with a thorough inspection and utilizing a systematic approach, we can troubleshoot HVAC heat pumps step by step. By following a structured troubleshooting process, we can effectively identify and resolve common heat pump problems.
The first step is to gather information from the customer about the issue and any recent changes.

Next, we should inspect the heat pump’s components, including the thermostat, filters, and electrical connections, to ensure they’re functioning properly.
If everything appears to be in order, we can proceed to test the system’s electrical circuits and controls using troubleshooting techniques such as voltage measurements and continuity tests.
If an issue is still not identified, further investigation may be required, such as checking refrigerant levels or examining the compressor.
Evaluating the Thermostat and Controls
After inspecting the heat pump’s components to ensure they’re functioning properly, we can evaluate the thermostat and controls to determine if they’re the source of the problem. This step is crucial in the troubleshooting process as the thermostat and controls play a vital role in regulating the heat pump’s operation.

Here is a step-by-step guide to evaluating the thermostat and controls:
Check the thermostat settings: Verify that the thermostat is set to the desired temperature and mode of operation.
Test the thermostat’s responsiveness: Adjust the temperature setting and observe if the heat pump responds accordingly.
Inspect the wiring connections: Ensure that the thermostat is properly wired and that there are no loose or damaged connections.
Evaluate the control system: Analyze the control board and other components of the control system to identify any faults or malfunctions.
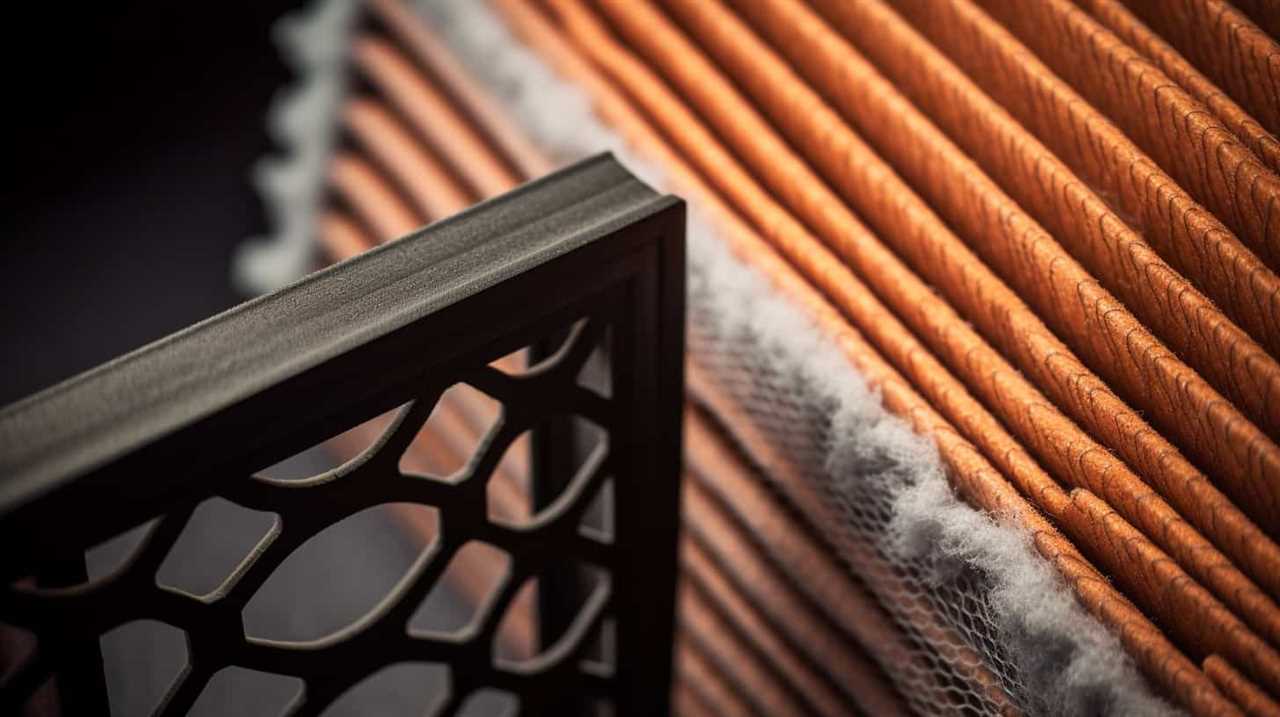
Checking for Airflow and Filter Problems
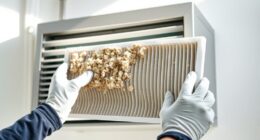
When it comes to HVAC heat pumps, clogged filters can significantly reduce efficiency and hinder airflow, ultimately affecting the performance of the pump.
It’s crucial to regularly check and clean or replace filters to ensure optimal airflow and prevent any issues that may arise from reduced efficiency.
Clogged Filters Reduce Efficiency
We need to regularly check and clean the filters in our HVAC heat pumps to ensure optimal airflow and prevent reduced efficiency. Here are some maintenance tips to keep in mind:
Inspect the filters monthly: Check for dirt, dust, and debris buildup on the filters. Clogged filters restrict airflow, reducing efficiency.
Clean or replace filters as needed: If the filters are dirty or clogged, clean them with a vacuum or wash them with mild detergent and water. If they’re damaged or too dirty to clean, replace them with new ones.
Check for proper fitting: Ensure that the filters are properly installed and securely fitted in the HVAC system. Poorly fitted filters can allow unfiltered air to bypass the filter, affecting efficiency.
Establish a regular cleaning schedule: Set a schedule for cleaning or replacing the filters based on the manufacturer’s recommendations or the specific needs of your HVAC system.
Regularly checking and maintaining the filters will help prevent reduced efficiency and ensure optimal airflow, which is crucial for the overall performance of the heat pump.
This leads us to the next section on how airflow affects pump performance.
Airflow Affects Pump Performance
Optimal airflow and clean filters are essential for maintaining peak performance in our HVAC heat pumps.
Proper airflow ensures efficient heat transfer and prevents system overheating. To optimize airflow, start by checking the air vents and registers for blockages or obstructions. Make sure they aren’t covered by furniture or curtains.

Next, inspect the ductwork for any leaks or damage that may restrict airflow. Use duct tape to seal any gaps or cracks.
Additionally, check the air filter regularly and replace it as needed. A dirty or clogged filter can restrict airflow and reduce system efficiency.
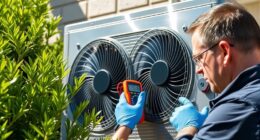
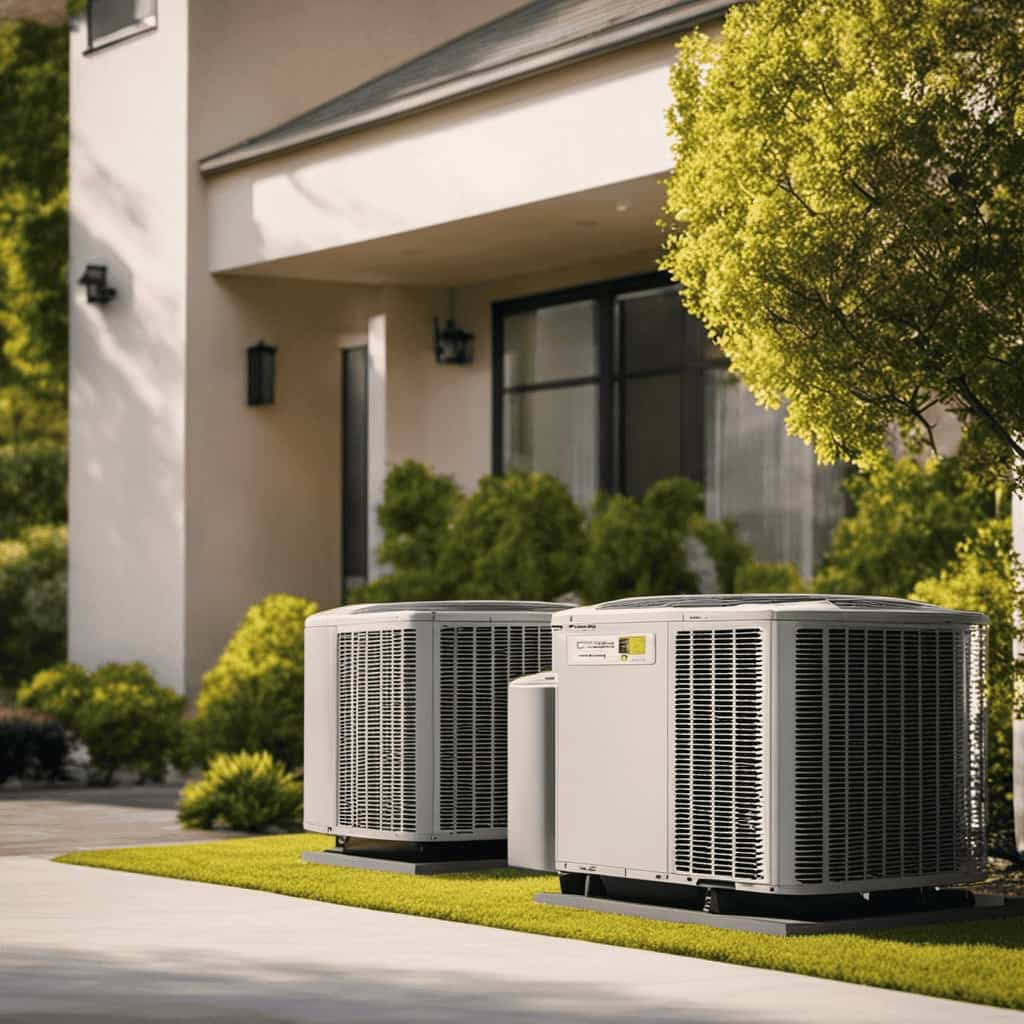
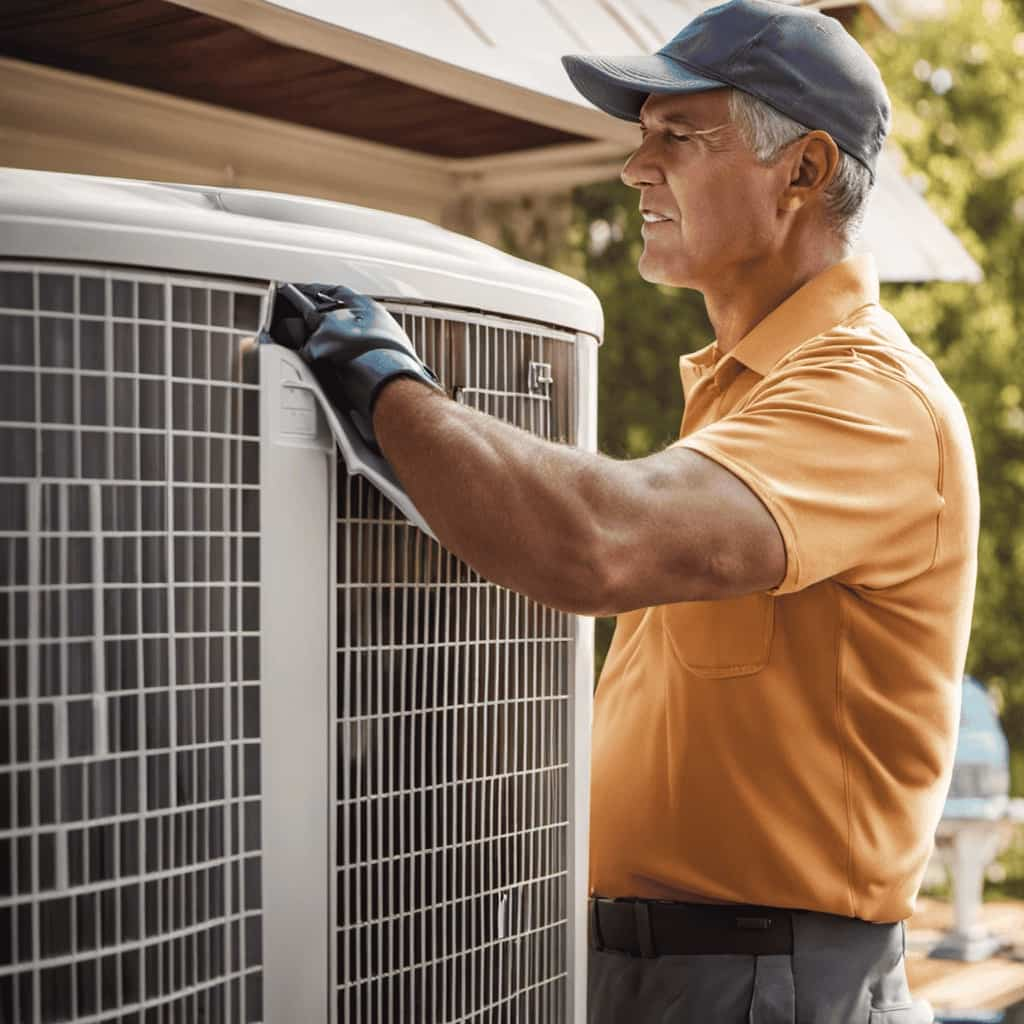
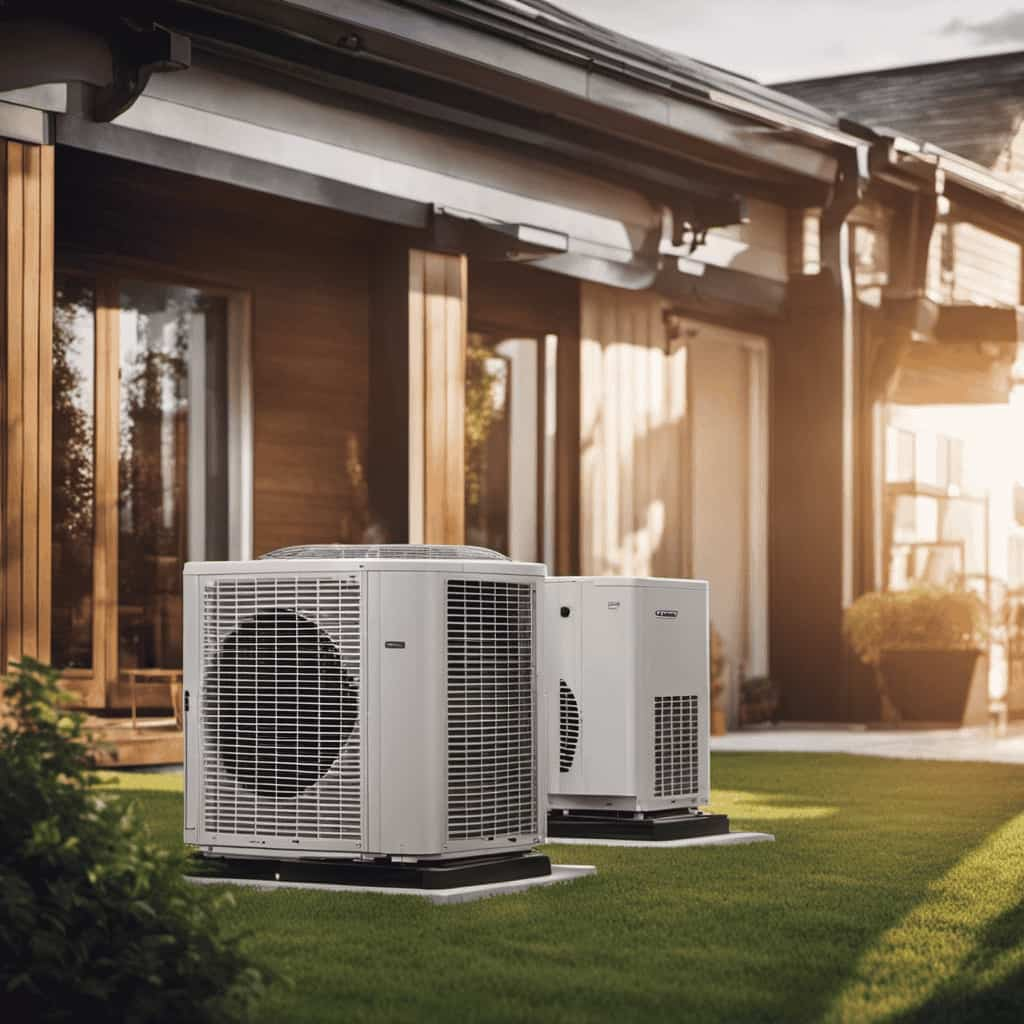
Inspecting the Outdoor Unit and Coils
When inspecting the outdoor unit and coils, it’s important to understand proper coil cleaning techniques and be aware of common outdoor unit issues.
We’ll discuss the steps to effectively clean the coils and remove any dirt or debris that may be obstructing airflow.
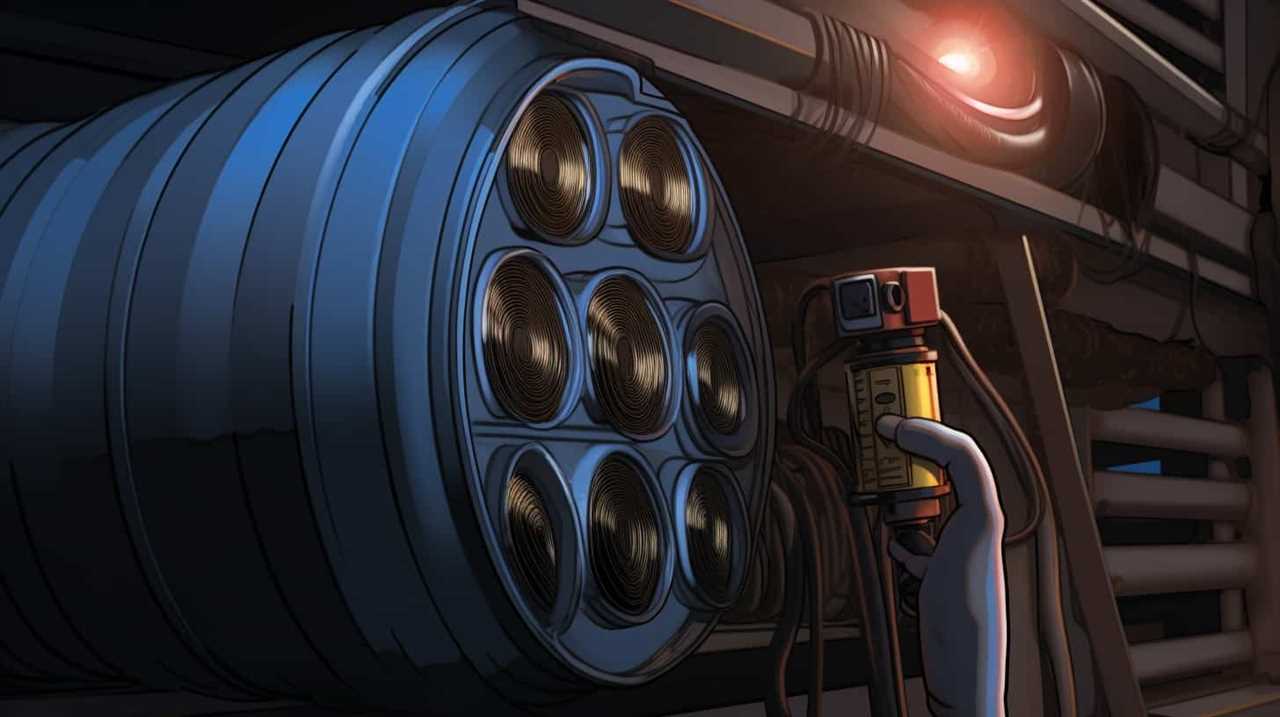
Additionally, we’ll address common problems such as refrigerant leaks, faulty fan motors, and damaged fins that can affect the performance of the outdoor unit.
Coil Cleaning Techniques
Inspecting the outdoor unit and coils is essential for maintaining the performance and efficiency of the HVAC heat pump. Regular coil cleaning techniques can help prevent issues and ensure optimal functioning. Here are four important steps to follow:
Visual Inspection: Begin by visually inspecting the outdoor unit and coils for any visible dirt, debris, or signs of damage. This step helps identify areas that require cleaning and potential issues that need attention.
Chemical Cleaners: Use chemical cleaners specifically designed for coil cleaning. These cleaners effectively remove dirt, grime, and other contaminants from the coils, ensuring proper heat transfer and preventing blockages.
Proper Technique: Follow the manufacturer’s guidelines for coil cleaning, including the appropriate application of chemical cleaners. Use a soft brush or fin comb to carefully remove any stubborn debris without damaging the fins.
Preventative Maintenance: Incorporate coil cleaning into your HVAC system’s preventative maintenance routine. Regular cleaning helps prolong the lifespan of the heat pump, improves energy efficiency, and reduces the risk of breakdowns.
Common Outdoor Unit Issues
We have encountered several common outdoor unit issues, and by inspecting the outdoor unit and coils, we can identify and address these problems effectively.
Regular maintenance of the outdoor unit is crucial to ensure optimal performance of HVAC heat pumps. One common issue is a dirty outdoor coil, which can lead to reduced heat transfer and decreased efficiency. It’s important to clean the coil regularly to remove dirt, debris, and other contaminants.

Another common problem is a faulty fan motor. A visual inspection of the fan motor can help identify any signs of damage or malfunction.
Additionally, checking for proper airflow and ensuring that the outdoor unit is free from obstructions can prevent issues related to restricted airflow.
Testing the Refrigerant Levels
To accurately assess the refrigerant levels, we should use a refrigerant pressure gauge. Here’s a step-by-step guide on how to test the refrigerant levels in your HVAC heat pump:
Prepare the equipment: Ensure that the heat pump is turned off and the power supply is disconnected for safety.

Connect the gauge: Attach the refrigerant pressure gauge to the service valve on the suction line of the heat pump.
Pressure testing: Open the valve and allow the system to stabilize. Compare the pressure reading on the gauge to the manufacturer’s specifications to determine if the refrigerant levels are within range.
Check for leaks: While testing, inspect the connections and fittings for any signs of refrigerant leakage.
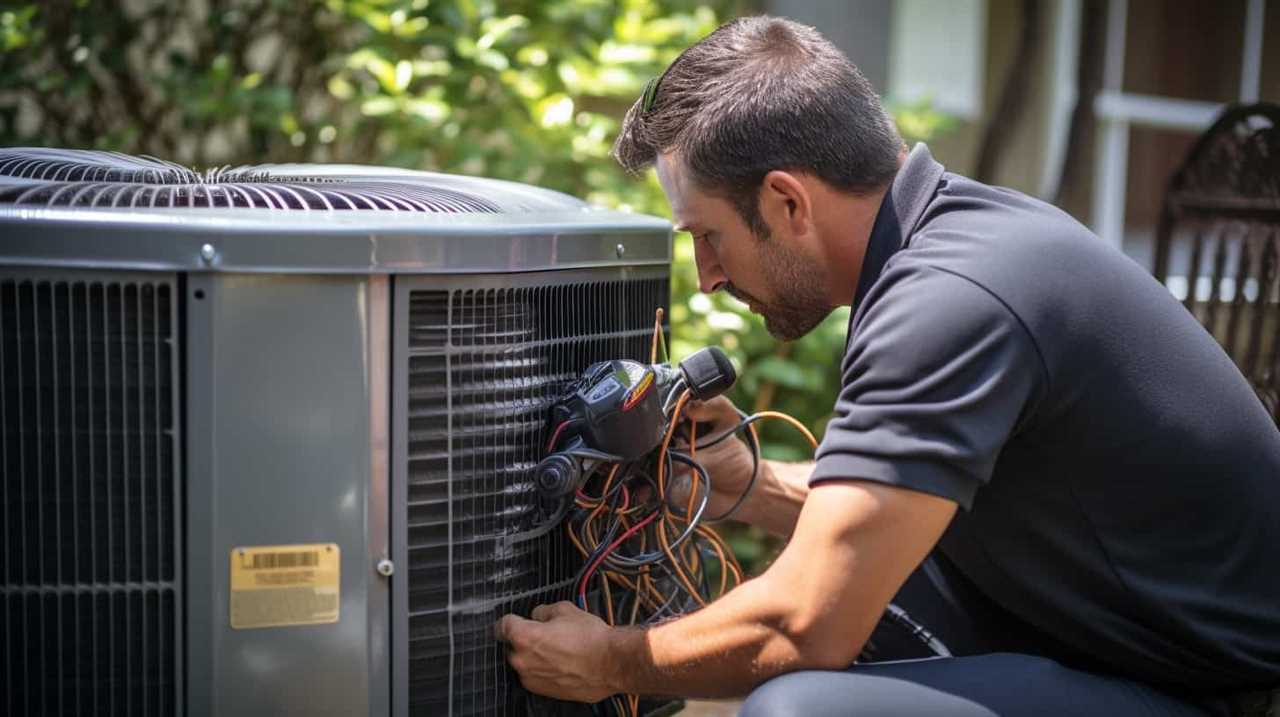
Assessing Electrical Connections and Components
To accurately assess the electrical connections and components, we’ll check for any signs of damage or malfunction. We’ll start by visually inspecting the wiring and connections for any loose or frayed wires.

Next, we’ll use a multimeter to measure the voltage at various points in the system, ensuring that it matches the manufacturer’s specifications. Troubleshooting voltage issues may involve checking for any blown fuses or tripped circuit breakers.
We’ll also examine the contactors and relays for any signs of wear or overheating. Additionally, we’ll inspect the capacitors for bulging or leaking, as these can cause electrical problems.
By thoroughly assessing the electrical connections and components, we can identify any issues that may be affecting the heat pump’s performance.
Transition: Once we’ve completed the assessment of the electrical connections and components, we can move on to troubleshooting defrosting and ice build-up.

Troubleshooting Defrosting and Ice Build-up
To effectively troubleshoot defrosting and ice build-up, we need to understand the common causes and potential solutions for this issue. Here are some key techniques and preventive measures to consider:
Check the defrost control board: Ensure that the control board is functioning properly and initiating the defrost cycle at the appropriate intervals. A faulty control board can lead to inadequate defrosting.
Inspect the defrost thermostat: Verify that the thermostat is reading the correct temperature and activating the defrost cycle when necessary. A malfunctioning thermostat can cause ice build-up.
Clean the outdoor unit: Remove any debris or obstructions around the outdoor unit, as they can restrict airflow and hinder defrosting. Maintain a clear area to facilitate proper heat transfer.
Improve insulation and airflow: Enhance insulation around the refrigerant lines and ensure that there are no obstructions in the ductwork. Good airflow and insulation prevent ice build-up by maintaining proper temperature distribution.
Finalizing the Diagnosis and Repair Solutions
Once we have completed the diagnostic process, we can finalize the diagnosis and determine the appropriate repair solutions for the HVAC heat pump. Finalizing the repair plans is crucial to ensure the proper functioning of the system and prevent any further issues. It is important to consider all the factors and findings from the diagnostic process to develop an effective repair strategy.
To help you understand the process better, here is a table summarizing the steps involved in finalizing the diagnosis and repair solutions for HVAC heat pumps:
| Steps | Description |
|---|---|
| Review diagnostic results | Analyze the findings from the diagnostic process to identify the root cause of the heat pump issue. |
| Identify necessary repairs | Determine the specific repairs needed to address the identified problem. |
| Estimate repair costs | Assess the costs associated with the required repairs, including labor and replacement parts. |
| Develop maintenance plan | Create a comprehensive plan to ensure proper maintenance of the HVAC heat pump in the future. |
Frequently Asked Questions
How Do I Choose the Right Size Heat Pump for My Home?
When choosing the right size heat pump for our home, we consider factors such as heat pump sizing and capacity. It’s important to calculate the heating and cooling needs of our space to ensure efficient and effective operation.

Can I Install a Heat Pump Myself, or Do I Need a Professional?
Installing a heat pump yourself can be tempting, but hiring a professional has its benefits. According to a study, 80% of DIY heat pump installations encounter problems. Professionals ensure proper installation, reducing the risk of costly repairs and maximizing efficiency.
Are There Any Energy-Efficient Options Available for Heat Pumps?
There are energy-saving features available for heat pumps, such as variable speed compressors and smart thermostats. Additionally, government incentives may be available to encourage the use of these efficient options.
What Are the Common Signs That Indicate a Malfunctioning Heat Pump?
When troubleshooting HVAC heat pumps, it is important to be aware of common signs of malfunctioning. These can include inadequate heating or cooling, strange noises, and frequent cycling. Identifying the common causes behind these issues will help in the troubleshooting process.
How Often Should I Have My Heat Pump Serviced?
We should have our heat pump serviced annually to ensure optimal performance and prevent potential breakdowns. Regular maintenance is crucial for the longevity and efficiency of the heat pump.

What is the Difference Between HVAC and Heat Pump Systems?
Hvac vs heat pump systems: While both HVAC and heat pump systems are used for heating and cooling, there are some key differences. HVAC systems use a combination of heating, ventilation, and air conditioning components, providing more versatility in climate control. On the other hand, heat pump systems are more focused on providing efficient heating and cooling by transferring heat from one location to another.
Conclusion
In conclusion, troubleshooting HVAC heat pumps requires a systematic approach to identify and resolve common issues.
By following a step-by-step process, evaluating the thermostat and controls, checking for airflow and filter problems, testing refrigerant levels, assessing electrical connections and components, and troubleshooting defrosting and ice build-up, technicians can determine the root cause of problems and provide effective repair solutions.
As the saying goes, ‘A stitch in time saves nine,’ timely troubleshooting and maintenance can prevent larger and costlier issues in the future.