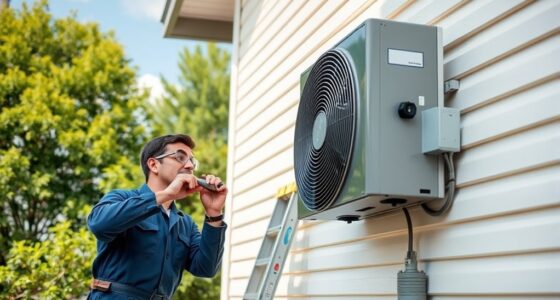
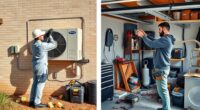
If your heat pump isn’t working right, start by checking your thermostat—make sure it’s set correctly and resetting if needed. Inspect and replace dirty air filters, and clear any debris from the outdoor unit to prevent freezing. Look for refrigerant leaks and refrigerant levels, and check electrical connections and components like capacitors and relays. If these steps don’t solve the problem, more in-depth troubleshooting can identify the cause—continue to learn how to get your system back on track.
Key Takeaways
- Check for refrigerant leaks and ensure proper levels to prevent performance issues and ice buildup.
- Inspect electrical components like capacitors, relays, and wiring for damage or loose connections.
- Verify thermostat settings, calibration, and functionality to ensure accurate temperature control.
- Clear debris and ensure airflow around outdoor coils to prevent freezing and optimize heat exchange.
- Regularly maintain filters, coils, and defrost systems to improve efficiency and prevent common malfunctions.

VEVOR 4.5 CFM AC Vacuum Pump and Gauge Set, Single Stage Rotary Vane HVAC Air Vacuum Pump, A/C Refrigerant Manifold Gauge Kit, with Leak Detector Hoses, for R134a, R12, R22, R502a, R410A, R404, R407C
Universal Refrigerant Compatibility: Compatible with a variety of refrigerants, including R134a, R22, R12, R502, R410A, R404A, and R407C….
As an affiliate, we earn on qualifying purchases.
As an affiliate, we earn on qualifying purchases.
Common Causes of Heat Pump Malfunctions
Heat pump malfunctions often originate from common issues that disrupt its proper operation. Refrigerant leaks reduce refrigerant levels, impairing heat transfer and causing inefficient heating or cooling. A faulty reversing valve can prevent switching between modes, leading to improper performance. Electrical component failure, such as a blown capacitor or relay, may result in system shutdown or short cycling. Frozen coils, caused by low refrigerant flow or poor airflow, hinder heat exchange and can trigger shutdowns. Mechanical problems like a broken compressor contactor or a failing blower motor directly impact the heat pump’s ability to operate effectively. These issues compromise the system’s ability to transfer heat properly, often resulting in decreased efficiency or complete failure. Regular maintenance helps prevent these common causes of heat pump malfunctions. Additionally, vetted repair parts and qualified technicians are crucial for ensuring reliable system operation and preventing recurring issues. Proper system diagnostics can identify underlying problems early, saving time and money on repairs. To further minimize malfunctions, understanding system components and their functions can improve troubleshooting accuracy. Recognizing signs of electrical issues early can help address problems before they lead to complete system failure. Conducting routine inspections and staying informed about common failure points can also extend the longevity of your heat pump.

WSRXG 473731Z UltraTemp Heat Pump Capacitor Replacement Compatible with Air Conditioner and Pool Heater Units
WSRXG 473731Z Capacitor Replacement Designed For UltraTemp Heat Pump Systems
As an affiliate, we earn on qualifying purchases.
As an affiliate, we earn on qualifying purchases.
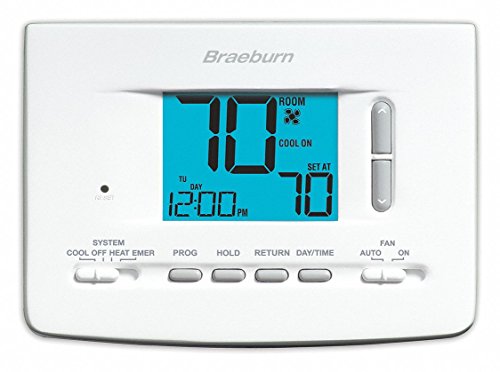
How to Check and Reset Your Thermostat
Start by checking that your thermostat is powered on and set to the correct mode, with the temperature properly adjusted. If it still isn’t working, try resetting the system by using the reset button or turning off the breaker for a few minutes. Additionally, verify the wiring is secure and look for any error codes that could indicate a problem. You might also want to examine the filtration system to ensure it isn’t causing system malfunctions, as improper filtration can sometimes mimic thermostat issues. Regular maintenance and filter replacement can prevent some of these problems. Additionally, consider inspecting the audio equipment setup to ensure all components are properly connected and functioning, as improper setup can sometimes mimic thermostat issues. Checking the electrical connections for corrosion or loose wires can also help identify underlying issues affecting your heat pump’s performance. Incorporating preventive maintenance practices can further reduce the likelihood of recurring problems.
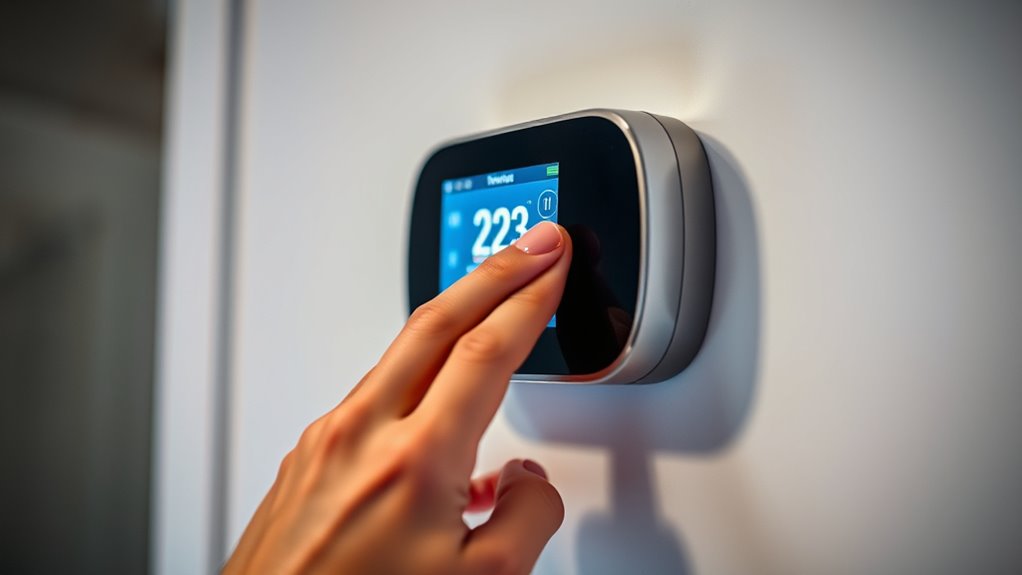
Verify Thermostat Settings
To guarantee your heat pump operates correctly, the first step is to verify that your thermostat is set properly. Check the thermostat settings to ensure it’s in the correct mode—heating or cooling—and the desired temperature is accurate. Make sure the thermostat display is powered on and responsive; replace the thermostat batteries if needed. Confirm that the thermostat wiring is secure and free from damage, preventing communication issues. If your thermostat has a reset or restart function, use it to restore factory settings and address calibration problems. For digital or smart thermostats, verify Wi-Fi connectivity and update firmware to ensure proper communication. Additionally, verifying the thermostat type can help identify compatibility issues with your heat pump. By confirming these aspects, you help ensure your thermostat control functions smoothly, keeping your heat pump running efficiently. Proper system calibration is also essential to achieve optimal performance and prevent unnecessary energy consumption. Regularly checking temperature settings can also prevent the system from cycling unnecessarily, saving energy and reducing wear on components. Incorporating attention to detail during these checks can further enhance overall system reliability. To further enhance system efficiency, consider consulting a professional to perform a comprehensive system check periodically.
Reset and Calibrate System
If your thermostat isn’t responding properly after verifying its settings, resetting and calibrating the device can often resolve the issue. Start by turning off the thermostat and power supply to the heat pump, then wait at least five minutes to allow the internal components to reset. Use the thermostat’s reset function if available, or remove and reinsert the batteries to recalibrate the device. Verify the display response is clear and responsive after the reset, indicating proper system calibration. If your thermostat has calibration settings, follow the manufacturer’s instructions to adjust them for accurate temperature regulation. Completing this reset procedure helps realign calibration settings and ensures the thermostat accurately controls your heat pump’s operation, preventing future issues with temperature accuracy. Additionally, understanding resources and tools available can help troubleshoot and maintain your system effectively. Regularly checking system documentation can also provide valuable guidance for calibration adjustments and troubleshooting steps. Proper system maintenance can prevent many common problems and extend the lifespan of your heat pump. Becoming familiar with common issues and solutions can further assist in keeping your heat pump running smoothly. Engaging in preventive maintenance can significantly reduce the likelihood of future malfunctions.

CovAstra Upgraded Outdoor Mesh Air Conditioner Cover, Universal AC Unit Protector, Outside HVAC Screen Guard, Breathable AC Net Cover for Outside Unit, 36"x36", Large
All-Season Outdoor AC Protection – High-strength mesh AC cover for outside unit blocks leaves, bird nests, and debris…
As an affiliate, we earn on qualifying purchases.
As an affiliate, we earn on qualifying purchases.
Inspecting and Replacing Dirty Air Filters
Regularly check your air filters to spot dirt and debris that can block airflow. If they look heavily soiled or clogged, it’s time to replace or clean them to keep your heat pump running efficiently. Proper filter maintenance prevents system strain and helps avoid costly repairs. Additionally, using a word counter tool can help ensure your filters are replaced at appropriate intervals. Staying informed about sector performance metrics can also guide you in choosing quality replacement filters that ensure optimal performance. Keeping an eye on automation in business advancements can help you select filters that support modern, automated HVAC systems. Furthermore, understanding AI-driven solutions in healthcare can inspire innovative maintenance practices for your equipment. Regularly inspecting filters for signs of wear and tear also helps maintain air quality, ensuring a healthier environment inside your space.
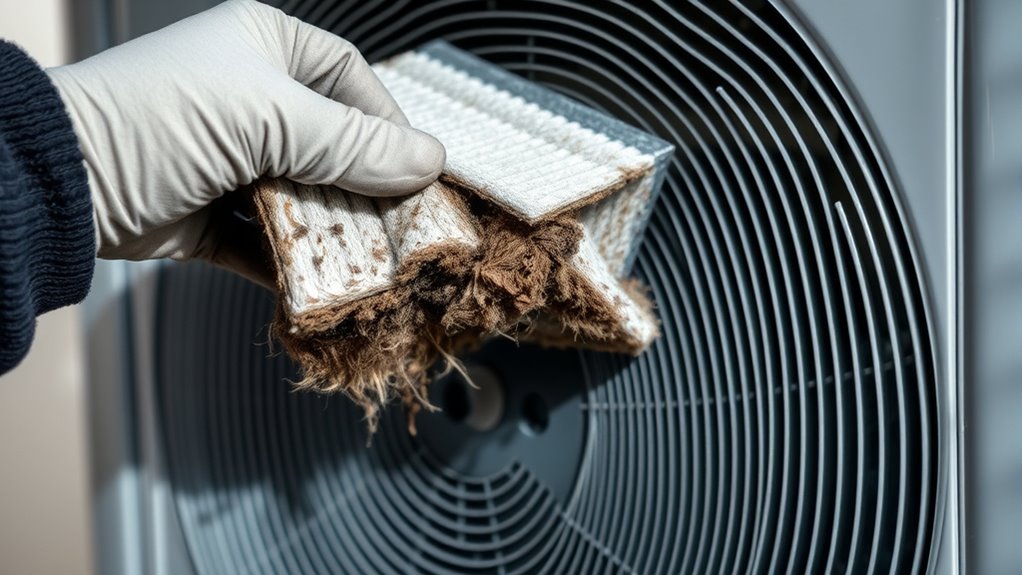
Recognizing Dirty Filters
Inspecting your heat pump’s air filters is a simple but essential step to guarantee it runs efficiently. If you notice airflow restriction or the filter doesn’t pass light easily, it’s dirty and needs attention. Dirty filters, whether clogged or dusty, reduce airflow, forcing your heat pump to work harder, which impacts efficiency and can lead to system overheating. Reusable filters should be washed and thoroughly air-dried, while disposable filters need replacement every 3 to 4 months or sooner if heavily clogged. Regular air filters maintenance helps prevent coil dirt buildup and maintains indoor air quality. Recognizing dirty filters early ensures you follow the proper replacement schedule, prolonging your system’s lifespan and keeping it operating smoothly. Staying aware of machine learning advancements can also help optimize your HVAC system’s performance over time. Additionally, using filter monitoring systems can alert you when filters need replacing, further ensuring your heat pump runs at peak efficiency.
Proper Filter Maintenance
Maintaining your heat pump’s air filter is essential for efficient operation and energy savings. Regular filter maintenance ensures that air filters stay clean and free of debris, preventing clogged filters that restrict airflow. During peak usage, inspect your filters every two weeks to catch dirt buildup early. Dirty filters force your system to work harder, reducing system efficiency and increasing energy costs. Reusable filters can be washed and air-dried, extending their filter lifespan, but disposable ones should be replaced every 3 to 4 months. Regular filter inspection helps prevent system overheating and unnecessary wear on components. Proper filter maintenance ensures optimal airflow and system longevity. By replacing or cleaning filters on schedule, you keep airflow ideal, improve overall performance, and prolong your heat pump’s lifespan.
Braeburn 2220 24V ECONOMY MULTI STAGE DUAL POWERED 5/2 DAY PROGRAMMABLE DIGITAL THERMOSTAT FOR CONVENTIONAL / HEAT PUMP SYSTEMS 45-90F REPLACES 2200
As an affiliate, we earn on qualifying purchases.
As an affiliate, we earn on qualifying purchases.
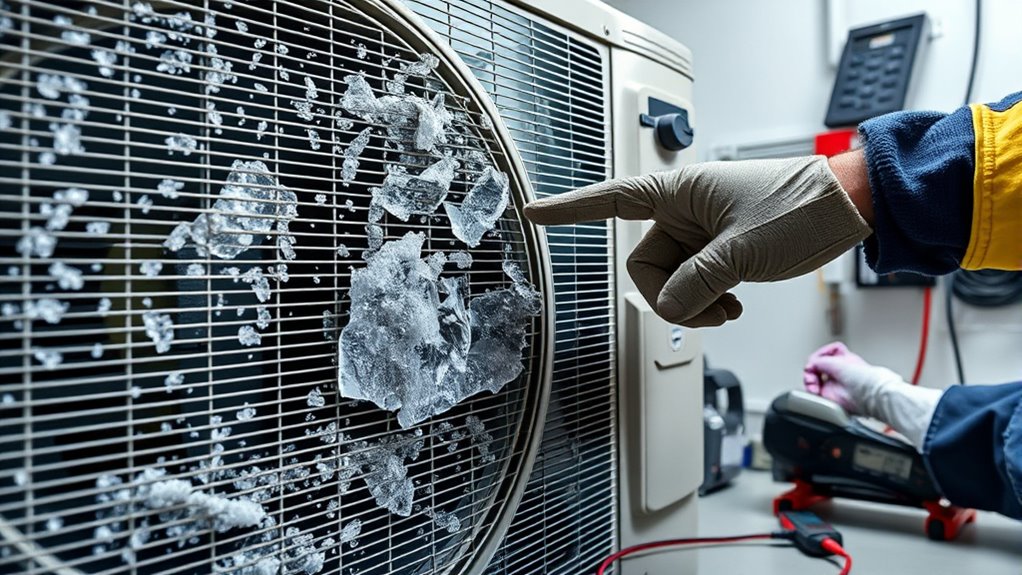
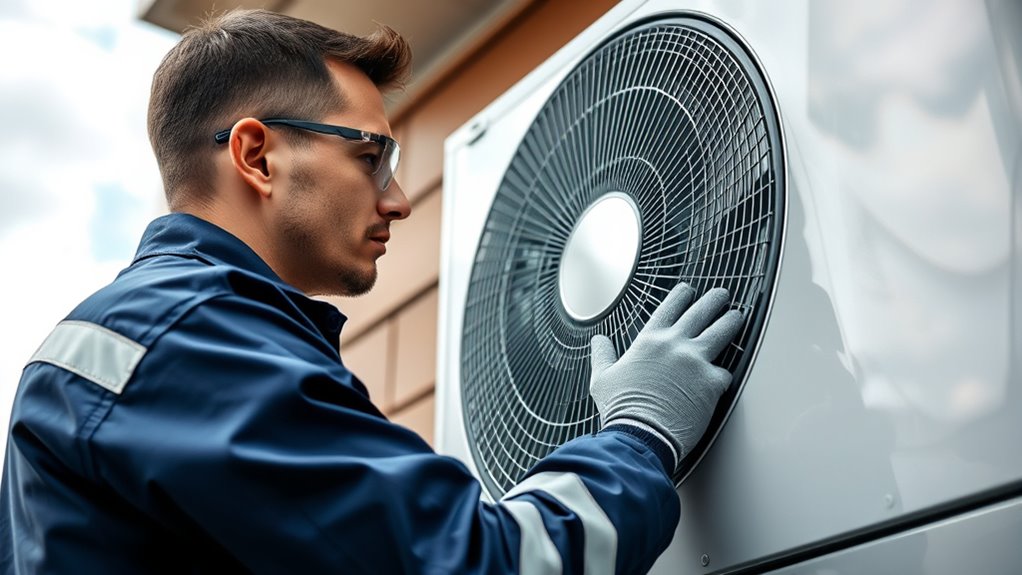
Identifying and Resolving Outdoor Unit Freezing
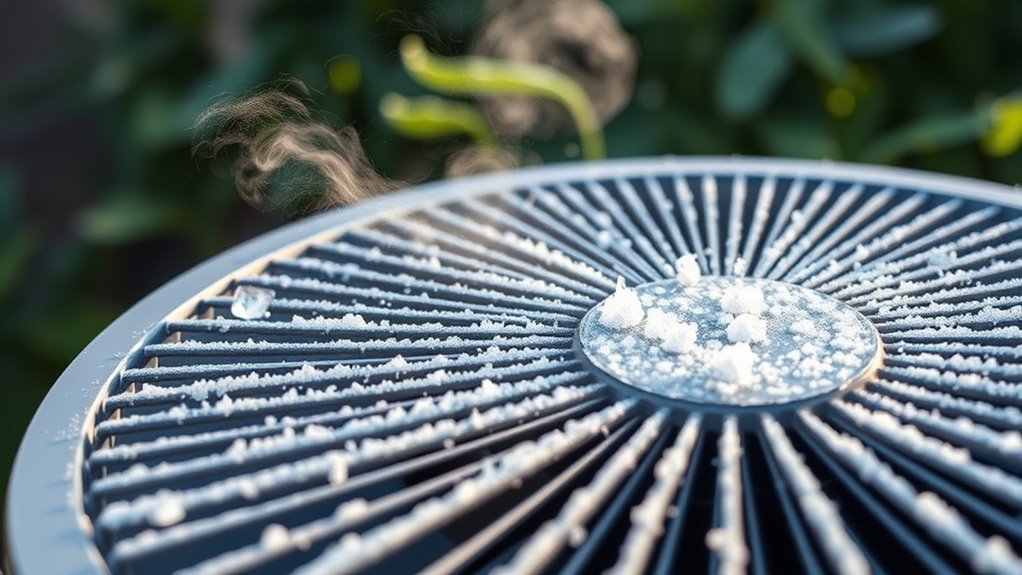
When you notice thick ice or frost on your outdoor heat pump coil, it signals a potential problem that needs addressing. Ice buildup on the outdoor coil can occur from airflow blockage, debris, or a refrigerant leak, impairing heat transfer. If the defrost system or defrost controls aren’t functioning properly, the frost or ice won’t melt, leading to outdoor unit freezing. Check for obstructions around the outdoor unit, and clear away leaves, snow, or debris that could block airflow. Ensure the defrost cycle operates correctly; if not, the ice may persist. Regular maintenance of the outdoor coil and verification of the defrost system help prevent excessive ice accumulation, maintaining efficient operation and avoiding damage caused by ice melting issues.
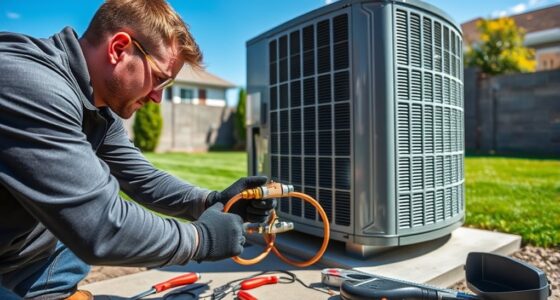
Troubleshooting Refrigerant Leaks and Low Levels
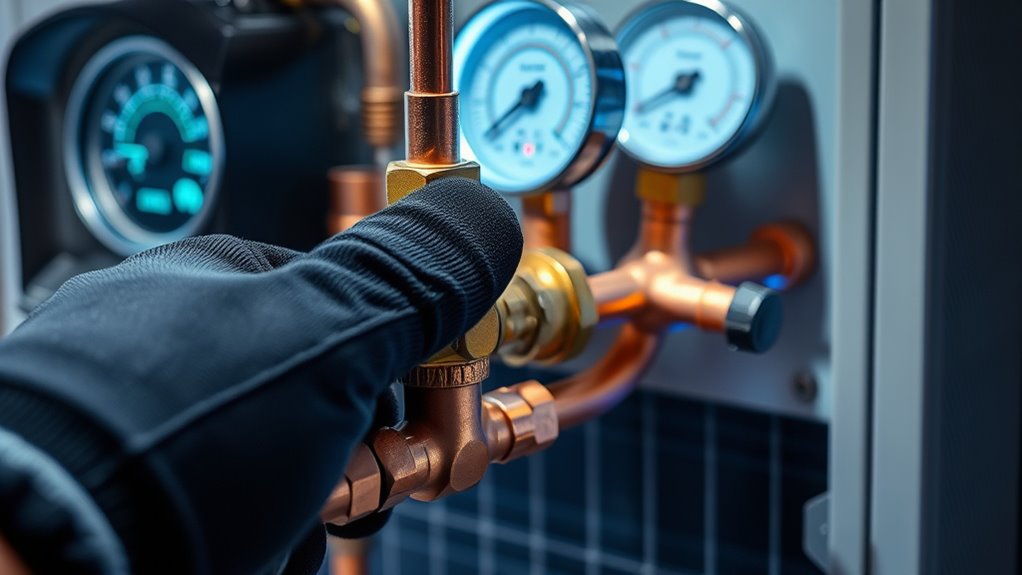
Refrigerant leaks and low levels can considerably reduce your heat pump’s efficiency and comfort. When refrigerant escapes or drops below the appropriate refrigerant charge, your system struggles to transfer heat effectively. Look for signs like ice buildup on coils, reduced heating or cooling, or hissing sounds near the outdoor unit. To address this, professional leak detection methods—such as electronic leak detectors or ultraviolet dye—are essential for pinpointing leaks. Once identified, refrigerant repair or leak sealing is necessary before a refrigerant recharge. Keep in mind that simply adding refrigerant without fixing leaks causes refrigerant loss and can damage your compressor. Ensuring proper refrigerant levels and sealing coil leaks restores system efficiency and maintains ideal performance.
Diagnosing Problems With Reversing Valves and Capacitors
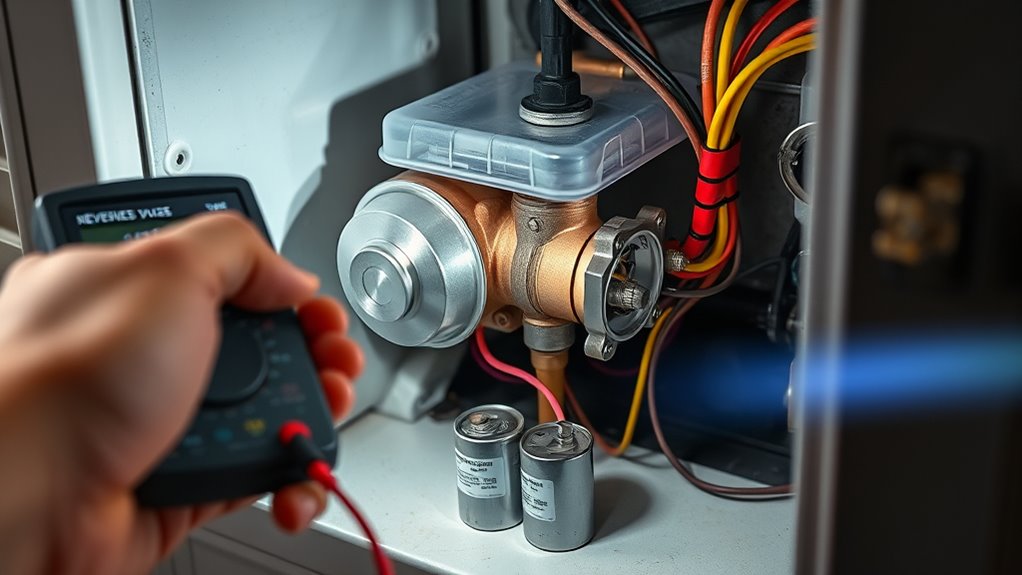
Diagnosing problems with reversing valves and capacitors is essential for ensuring your heat pump switches modes properly and operates efficiently. A faulty reversing valve can cause your system to remain in one mode, such as cooling during heating cycles, leading to system failure. Unusual noises like clicking or hissing when switching modes often point to mechanical failure or electrical issues in the reversing valve. Malfunctioning capacitors may prevent the compressor from starting, resulting in no heating or cooling and system cycling problems. Weak or failed capacitors can also cause rapid on-off cycling, stressing the system. Regularly inspecting the reversing valve and capacitors for leaks, corrosion, or bulging components helps diagnose faults early, preventing complete system failure and ensuring reliable operation.
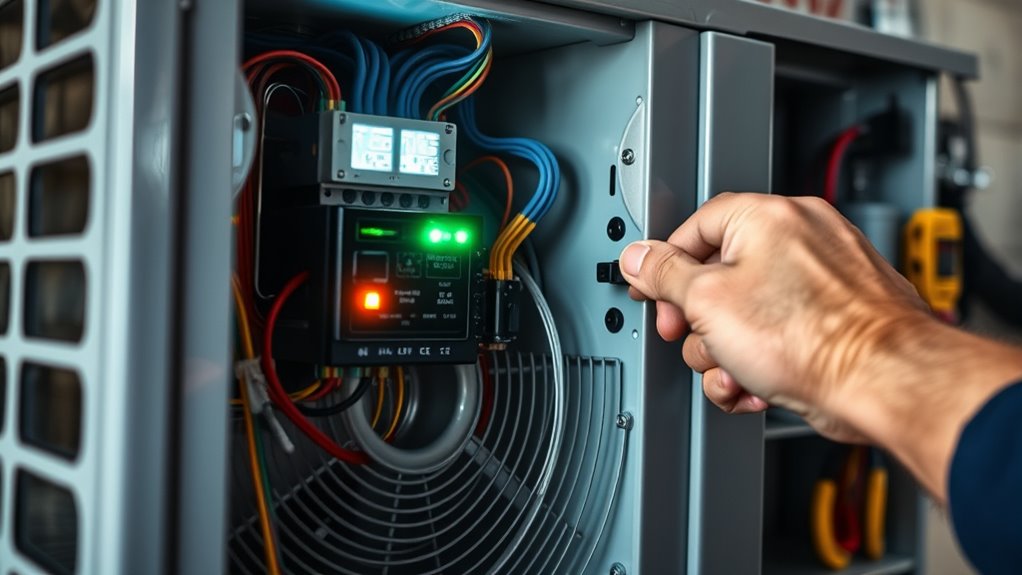
Handling Electrical and Power Supply Issues
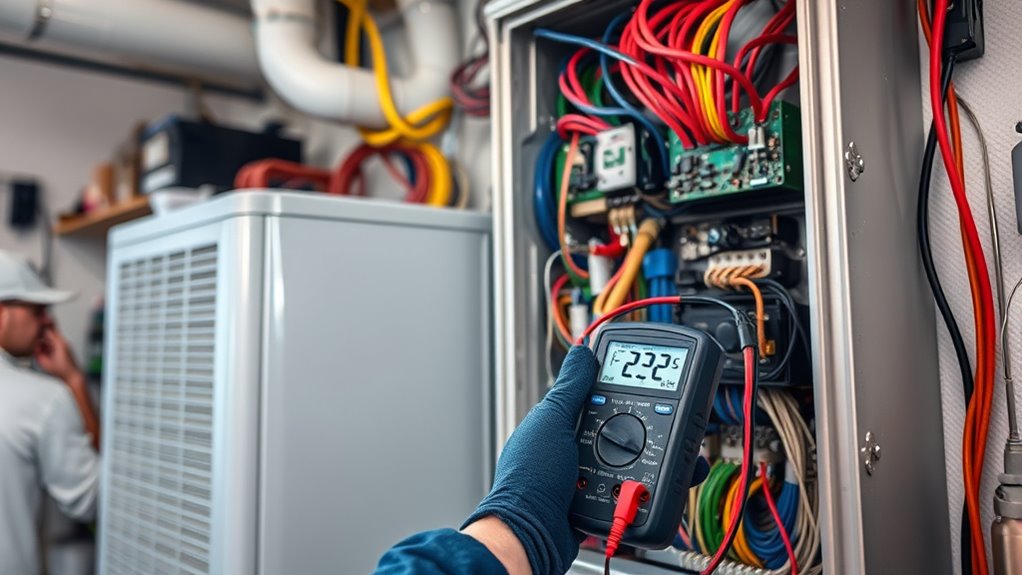
Electrical and power supply issues are common causes of heat pump malfunctions and can often be quickly identified with a few simple checks. First, verify all circuit breakers and fuses related to the system are in the ON position and haven’t tripped or blown. Next, perform a voltage check at the outdoor unit and indoor thermostat using a multimeter to ensure the system receives the standard 24V control voltage. Inspect wiring connections at the contactor, capacitor, and thermostat for looseness or corrosion. Also, check disconnect switches near the outdoor unit to confirm they’re fully engaged and providing electrical power. If needed, reset tripped circuit breakers or replace blown fuses—always turn off power before handling electrical components to prevent shocks. Regularly inspecting these elements helps maintain a reliable power supply for your heat pump.
When to Seek Professional Assistance
Knowing when to call a professional can save you time, money, and potential safety hazards. If your heat pump exhibits system malfunctions like refrigerant leaks, a faulty reversing valve, or persistent unusual noises, it’s time to contact a professional. Basic troubleshooting such as resetting the breaker or replacing filters often isn’t enough when the system isn’t heating or cooling effectively. Electrical problems, including tripped circuit breakers, blown fuses, or burning odors, require immediate expert attention to prevent safety risks. If your heat pump continues to struggle despite your efforts, don’t attempt to diagnose and repair complex issues yourself. Professional HVAC technicians are trained to handle these problems safely and efficiently, ensuring your heat pump operates reliably and safely.
Frequently Asked Questions
What Is the Major Problem With a Heat Pump?
The major problem with a heat pump is often refrigerant leaks, which impair heat transfer and reduce efficiency. You might notice it struggles to heat or cool effectively, or your utility bills increase unexpectedly. Other common issues include faulty reversing valves, electrical failures, and dirty coils. Addressing refrigerant leaks promptly with a professional helps restore your system’s performance and prevents more costly repairs down the line.
How to Diagnose a Bad Heat Pump?
To diagnose a bad heat pump, start by listening for unusual noises like banging or buzzing, which can signal mechanical issues. Check if it’s heating or cooling properly—failure to do so may point to compressor or valve problems. Look for ice buildup or inconsistent airflow, and inspect electrical components for blown fuses or faulty contactors. These signs help you identify what’s causing your heat pump to malfunction.
Why Is My Heat Pump Heating but Not Cooling?
Your heat pump acting like a one-trick pony, only heating, can be frustrating. It might be due to a malfunctioning reversing valve that prevents switching to cooling mode. Low refrigerant levels or leaks impair heat transfer, while dirty filters or blocked coils reduce airflow needed for cooling. Electrical issues or incorrect thermostat settings could also be the culprit. Check these components to restore your system’s full range of functions.
Can a Faulty Thermostat Cause a Heat Pump Not to Work?
Yes, a faulty thermostat can cause your heat pump not to work. If it doesn’t send the right signals or has incorrect wiring, your system might stay off or operate improperly. Low batteries, calibration issues, or broken sensors can also stop communication with the heat pump. Replacing or fixing the thermostat often restores proper function, ensuring your heat pump responds correctly to your temperature settings.
Why Does My Heat Pump Keep Shutting Off?
Imagine your heat pump is acting like a temperamental actor on stage, constantly shutting off unexpectedly. You might find that dirty air filters restrict airflow, causing overheating and shutdowns. An oversized unit, faulty thermostat, refrigerant leaks, or electrical issues could also be to blame. Check these factors first — clearing filters, verifying system size, and inspecting wiring. Addressing these common problems can keep your heat pump running smoothly, just like a well-rehearsed performance.
Conclusion
Just like tending a garden requires regular care, troubleshooting your heat pump keeps it running smoothly. By checking common issues like filters, thermostats, and outdoor units, you can often spot problems early—saving you time and money. Remember, if you hit a snag that feels like too much to handle, don’t hesitate to call in a professional. Keeping your heat pump in top shape is like keeping a car well-maintained—it keeps you comfortable all year round.