To commission a heat pump, start by verifying the equipment is correctly installed on a stable, level surface with clear airflow. Review the manufacturer’s manuals, check electrical connections, and inspect refrigerant levels and piping for leaks or damage. Set up your thermostat and control system, then power on and test both heating and cooling modes for proper function. Fine-tune system settings for efficiency and safety—continue exploring for detailed steps to guarantee a successful startup.
Key Takeaways
- Prepare the site by verifying stable placement, clearance, and removing obstructions for optimal airflow and maintenance access.
- Review manuals, confirm control system setup, and calibrate thermostat settings for proper operation.
- Inspect electrical connections, circuit capacity, and refrigerant piping for leaks and proper insulation.
- Perform system startup by turning on power, selecting modes, and observing noise, airflow, and error codes.
- Document settings, establish maintenance schedules, and educate users on system operation and routine checks.
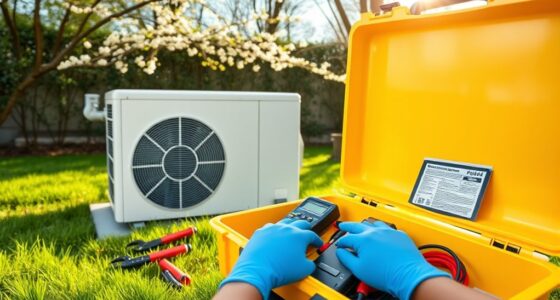
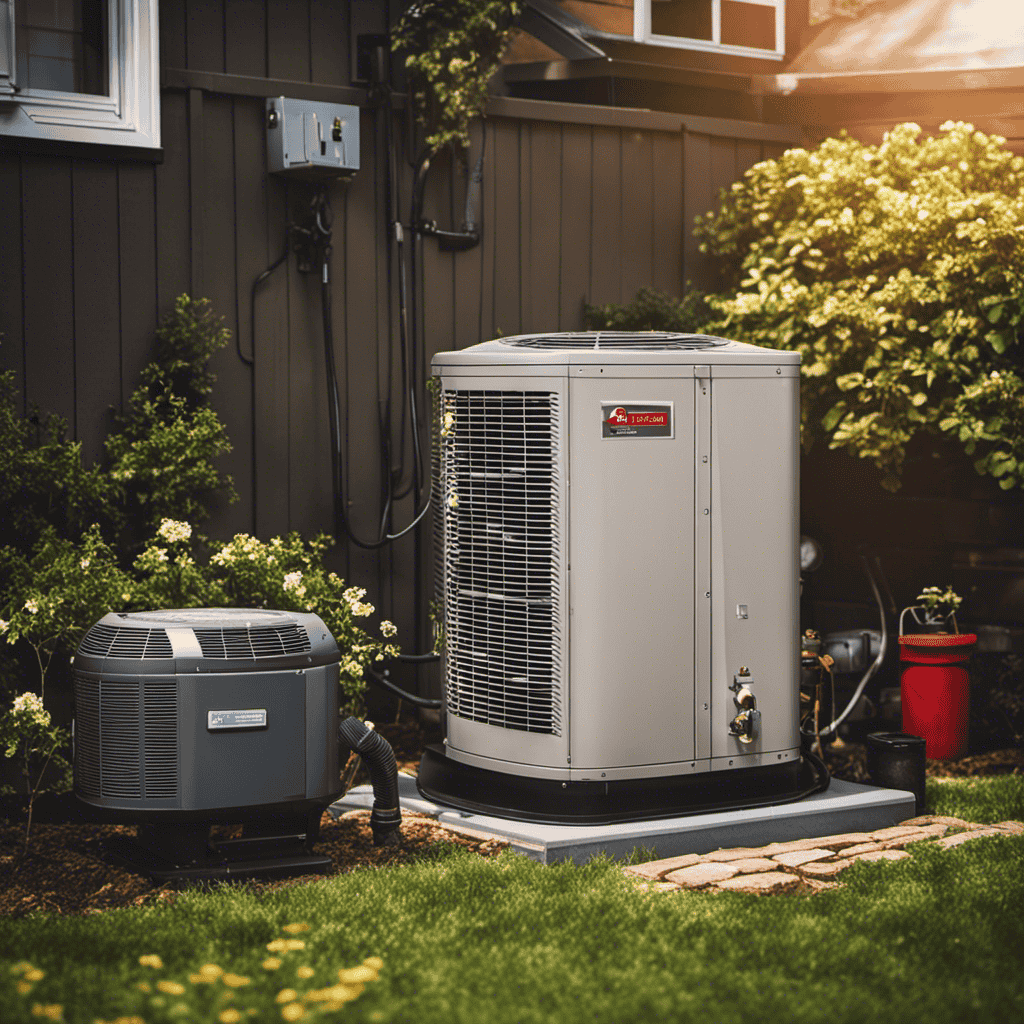
Verify Equipment and Site Preparation
Before beginning the commissioning process, you should verify that all equipment is correctly installed and ready for operation. Check the outdoor placement of the heat pump, ensuring it’s positioned on a stable, level surface. Consider aesthetic aspects, making sure the unit blends well with your surroundings and doesn’t detract from your property’s appearance. Confirm that there’s sufficient clearance around the unit for airflow and maintenance access. Inspect the mounting and connections for secure attachment and proper sealing. Make sure the outdoor unit isn’t obstructed by debris, plants, or structures that could hinder performance. Proper site preparation guarantees maximum efficiency, reduces future issues, and helps the system operate smoothly from the start. Taking these steps now saves time during later troubleshooting and adjustments. Additionally, understanding how automation can optimize system performance may be beneficial for future upgrades.
Review Manufacturer’s Installation and Operation Manuals
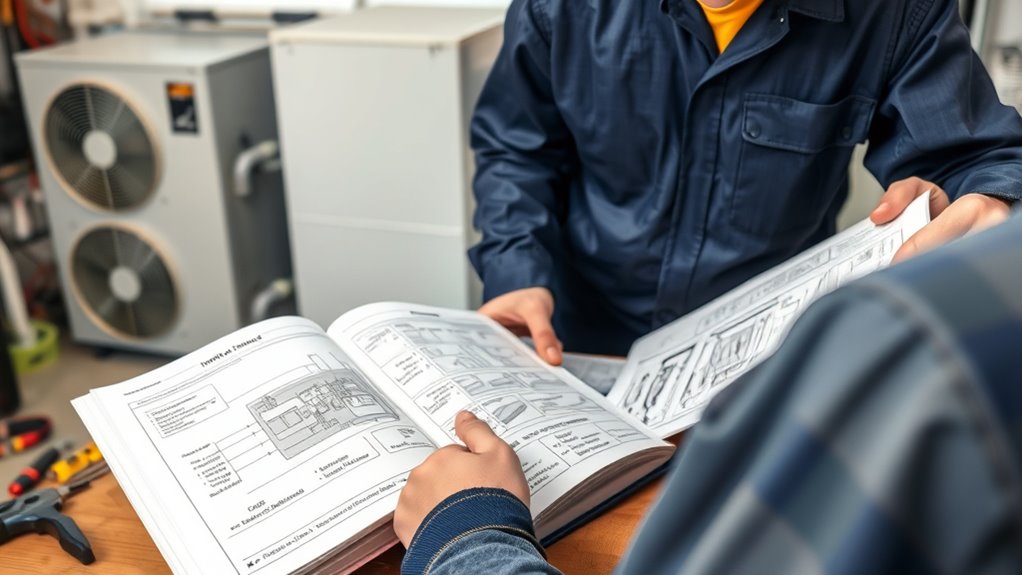
Reviewing the manufacturer’s installation and operation manuals is a crucial step to guarantee you understand the specific requirements and recommendations for your heat pump. These manuals provide essential manufacturer guidelines that ensure proper setup and peak performance. Carefully read the installation instructions to confirm your equipment is correctly positioned and connected, following the manufacturer’s specifications. The operation instructions help you familiarize yourself with controls, safety features, and maintenance procedures. Ignoring these details can lead to incorrect installation, reduced efficiency, or damage. Take notes on important points and keep the manuals accessible for future reference. Additionally, understanding proper storage practices can help maintain the longevity and effectiveness of your heat pump components. By thoroughly reviewing these documents, you set a solid foundation for a successful commissioning process and long-term reliable operation of your heat pump.
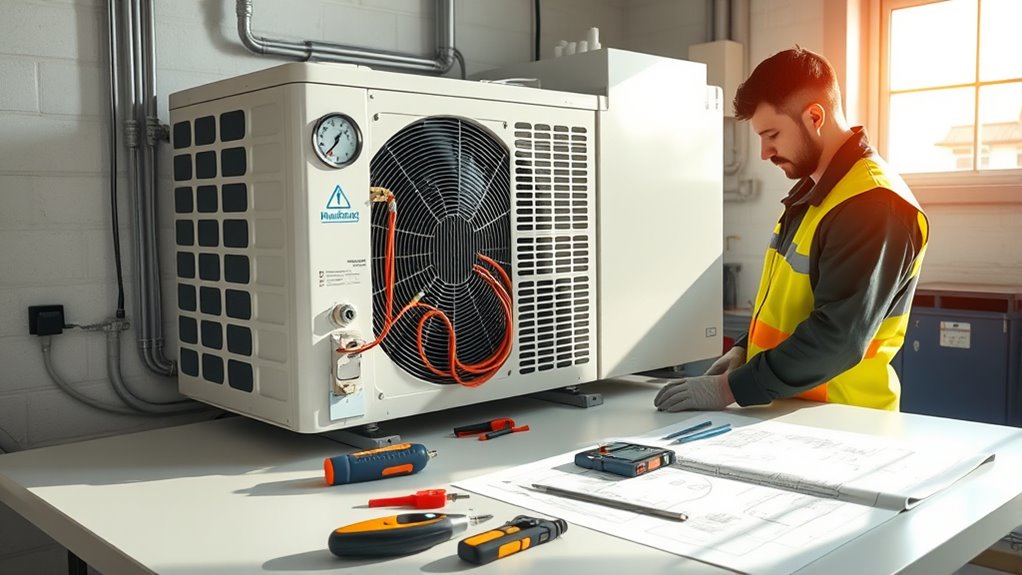
Check Electrical Connections and Power Supply

You need to confirm the electrical system is ready for the heat pump. Check that the circuit capacity matches the unit’s requirements, and inspect the wiring for any damage or loose connections. Finally, verify that all power switches are in the correct position before proceeding. Additionally, ensure that the electrical connections are properly grounded to prevent risks of electrical hazards.
Verify Circuit Capacity
Ensuring the circuit capacity is sufficient is a vital step in commissioning a heat pump. You need to verify that the electrical load matches the circuit’s capacity to prevent overloads or outages. Check the circuit breaker size against the heat pump’s electrical requirements, and confirm wiring can handle the load safely. Proper circuit capacity ensures reliable operation and prolongs equipment lifespan. Key points to consider include:
- Match circuit breaker ratings with manufacturer specifications
- Assess existing wiring for adequate gauge and insulation
- Confirm power supply voltage stability
- Ensure no other high-load devices share the same circuit
- Review essential oil properties to ensure compatible maintenance practices for your equipment (if applicable)
Inspect Wiring Integrity
After verifying the circuit capacity, the next step is to inspect the wiring integrity. Check all electrical connections for tightness, corrosion, or damage, making sure wires are properly secured. Look for signs of wear or loose terminals that could disrupt power supply. Confirm that the wiring matches the heat pump’s electrical specifications. While inspecting, verify that the wireless connectivity components are properly connected and functioning, as this can affect remote monitoring or control via the user interface. Test the main power supply to ensure it provides consistent voltage. Proper wiring integrity prevents faults and ensures safe operation. Additionally, inspecting the filtration system ensures that debris and allergens are effectively removed, supporting optimal heat pump performance. Once you’ve confirmed wiring is secure and intact, you can proceed confidently to the next step in commissioning your heat pump.
Confirm Power Switches
Before proceeding, verify that all power switches are in the correct position and that electrical connections are secure. Ensuring the power switch is properly turned on or off is essential to avoid electrical hazards. Follow safety precautions to prevent shocks or damage. Check that the main power supply is stable and properly connected. Confirm all wiring is tight and correctly wired to prevent short circuits. Always double-check these connections before powering up the system. Properly functioning power switches and secure connections reduce the risk of equipment failure or safety incidents. Remember, neglecting these steps can lead to costly repairs or injuries. Prioritize safety precautions and confirm power switches are in the correct position for a safe, smooth commissioning process. Additionally, understanding frictional unemployment can help anticipate industry shifts that may impact system needs or maintenance schedules.
Inspect Refrigerant Levels and Piping
To verify that the refrigerant levels and piping are correct, you need to carefully inspect the system. Start by checking for any refrigerant leak signs, such as oil spots or hissing sounds. Ensure the piping insulation is intact and properly installed to prevent energy loss. Proper insulation also reduces the risk of refrigerant leak damage. Use the table below to guide your inspection:
| Inspection Point | What to Look For |
|---|---|
| Refrigerant leak | Oil spots, hissing sounds |
| Piping insulation | Cracks, missing sections, proper fit |
| Piping connections | Tightness, corrosion, secure fittings |
Address any issues immediately to ensure maximum system performance and avoid refrigerant loss. Regular system maintenance ensures long-term reliability and efficiency.
Set Up Thermostat and Control Systems
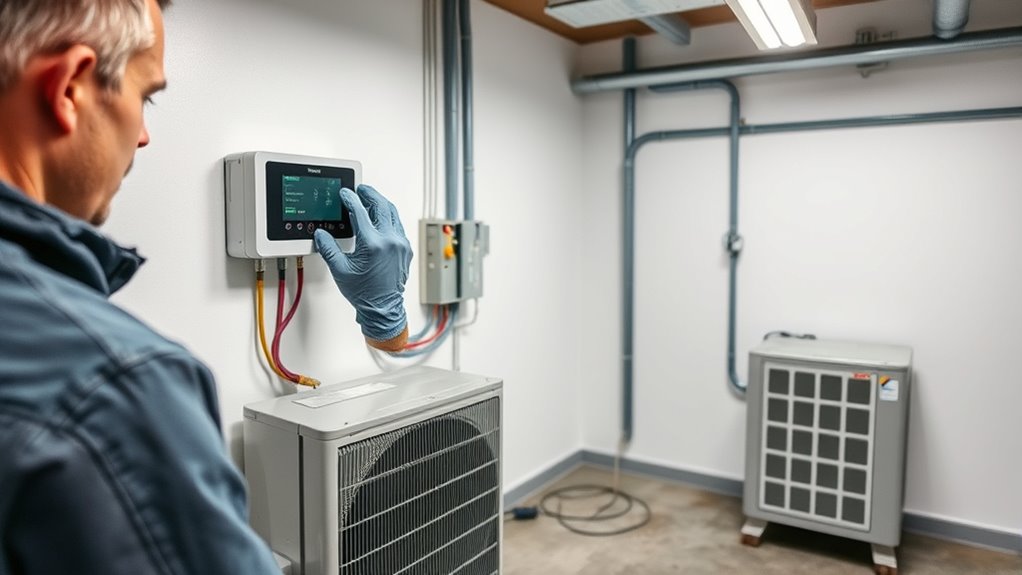
Once you’ve confirmed that the refrigerant levels and piping are properly installed and leak-free, it’s time to set up the thermostat and control systems. Proper thermostat wiring ensures reliable communication between components, preventing future issues. You should also calibrate the control system to match the heat pump’s specifications for peak performance. Focus on these key steps:
After verifying refrigerant and piping, properly wire and calibrate the thermostat for optimal heat pump performance.
- Verify thermostat wiring connections for accuracy and security
- Set initial temperature and program the thermostat for efficiency
- Perform control calibration to align sensor readings with actual temperatures
- Test control functions to ensure the system responds correctly to commands
- Understanding security considerations can help protect your control systems from cyber threats.
Accurate wiring and calibration are essential for consistent comfort and energy savings, laying the foundation for a smooth system start-up.
Perform Pre-Start System Checks

Before starting the heat pump, you need to verify all electrical connections are secure and properly wired. Check the refrigerant levels to guarantee they’re within the recommended range, and inspect system components for any damage or wear. Performing these checks helps prevent issues during operation and ensures the system runs smoothly from the start. Additionally, reviewing AI safety measures can help identify potential vulnerabilities or malfunctions in modern control systems.
Verify Electrical Connections
Have you thoroughly checked all electrical connections to verify they are secure and correctly wired? Making certain proper electrical wiring and circuit protection is essential for safe operation. Confirm that all wiring matches the manufacturer’s schematics and that no loose connections exist. Properly tightened terminals prevent arcing or overheating. Inspect circuit protection devices, such as fuses and breakers, to ensure they are correctly rated and functioning. Double-check that grounding is properly established to avoid electrical faults. Remember, a secure and correct electrical setup reduces the risk of system failures or hazards. Additionally, verifying electrical connections can prevent potential damage to sensitive components.
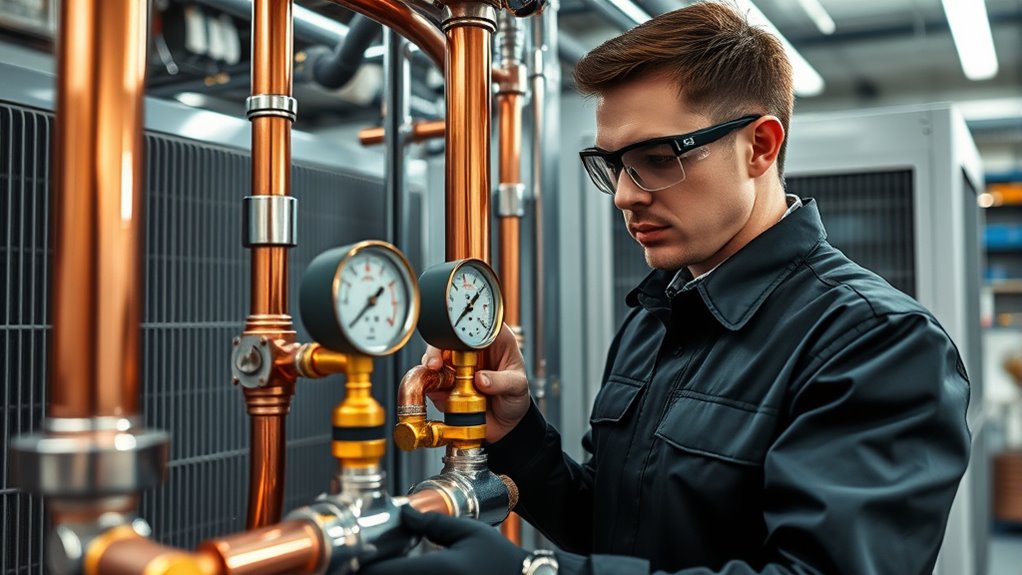
Check Refrigerant Levels
After verifying all electrical connections are secure and correctly wired, you should proceed to check the refrigerant levels. Start by inspecting the system for any signs of refrigerant leaks, such as oily spots around fittings or piping. Use a leak detector if needed. Ensure the piping insulation is intact and properly installed; damaged or missing insulation can affect system performance and refrigerant pressure. Check the pressure gauges on the service valves to confirm refrigerant levels are within the manufacturer’s recommended range. Low refrigerant can cause system inefficiency, while overcharging risks damage. Address any refrigerant leaks immediately before proceeding further. Properly maintained refrigerant levels guarantee optimal heat pump operation and longevity.
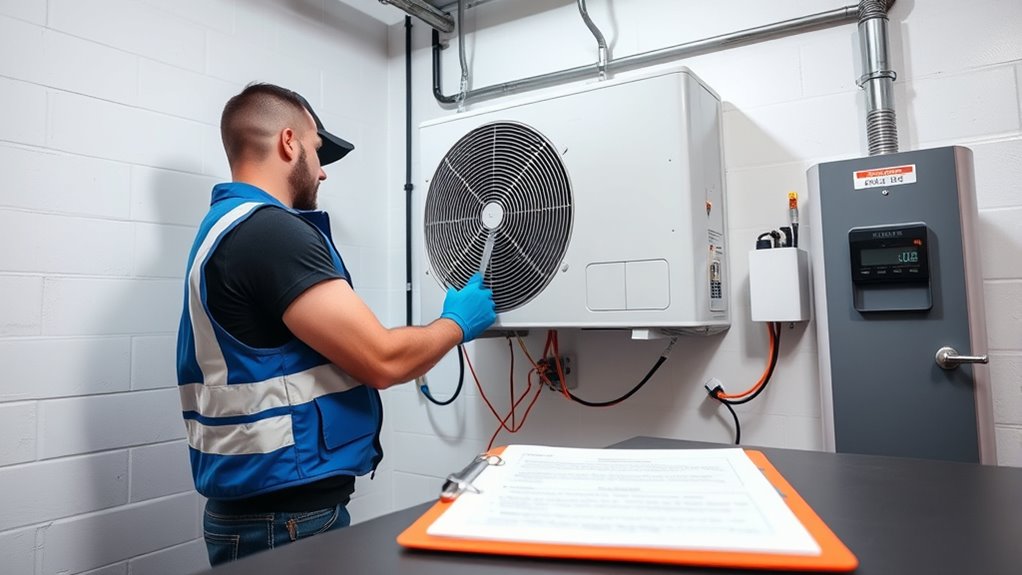
Inspect System Components
Ever wonder if your heat pump is ready to run efficiently? Inspecting system components is essential before starting. This step helps identify potential issues early, guaranteeing peak performance and energy savings. Use maintenance tips to verify that all parts—like filters, electrical connections, and fans—are clean and secure. Check for any signs of wear or damage that could lead to malfunctions. Troubleshooting techniques can guide you in diagnosing unusual noises or leaks. Ensure the thermostat and control systems respond correctly. Confirm refrigerant lines are properly insulated and free of obstructions. By thoroughly inspecting these components, you reduce the risk of breakdowns and improve efficiency. Taking these precautions sets a solid foundation for reliable operation and long-term durability of your heat pump.
Power On the Heat Pump and Conduct Initial Startup
Are you ready to power on the heat pump and begin its initial startup? Before doing so, verify all safety checks are complete. Turn on the electrical disconnect and confirm that power flows to the unit. Switch on the thermostat and set it to a heating or cooling mode, depending on your needs. As the system powers up, listen for unusual noises and observe for any abnormal vibrations—these could indicate issues affecting noise reduction. Proper startup ensures the system’s energy efficiency from the start, preventing energy waste. Monitor the control panel for error codes or alerts. Once the system runs smoothly, you can proceed with further testing. Initial startup is a critical step in ensuring your heat pump operates quietly and efficiently.
Test Heating and Cooling Functionality

To make certain your heat pump operates correctly, it’s vital to test both its heating and cooling functions. This ensures optimal energy efficiency and helps identify any issues early. Turn on the system in heating mode and check if warm air flows steadily, listening for excessive noise that could indicate mechanical problems. Then switch to cooling mode, verifying cool air output and observing noise levels. Proper testing confirms the system’s responsiveness and efficiency. Keep these points in mind:
- Confirm consistent airflow during both modes
- Listen for unusual noises that might affect noise reduction
- Check that temperature adjustments respond correctly
- Ensure the system cycles smoothly without short cycling or delays
Performing these tests guarantees your heat pump provides reliable, efficient performance while minimizing noise.
Adjust System Settings for Optimal Performance

After confirming your heat pump’s heating and cooling functions, the next step is to fine-tune its system settings for peak performance. Adjust the thermostat to maintain consistent temperatures, which improves system efficiency. Check the airflow settings and ensure vents are unobstructed to optimize heat transfer. Set the fan speed to balance noise reduction and airflow, reducing operational noise without sacrificing performance. If your system has energy-saving modes or smart controls, customize these to match your comfort needs. Properly calibrated system settings help maximize energy efficiency, lowering utility bills. Additionally, reducing unnecessary noise enhances comfort, especially during nighttime operation. Fine-tuning these parameters ensures your heat pump operates smoothly, efficiently, and quietly, providing reliable climate control year-round.
Document Settings and Establish Maintenance Schedule
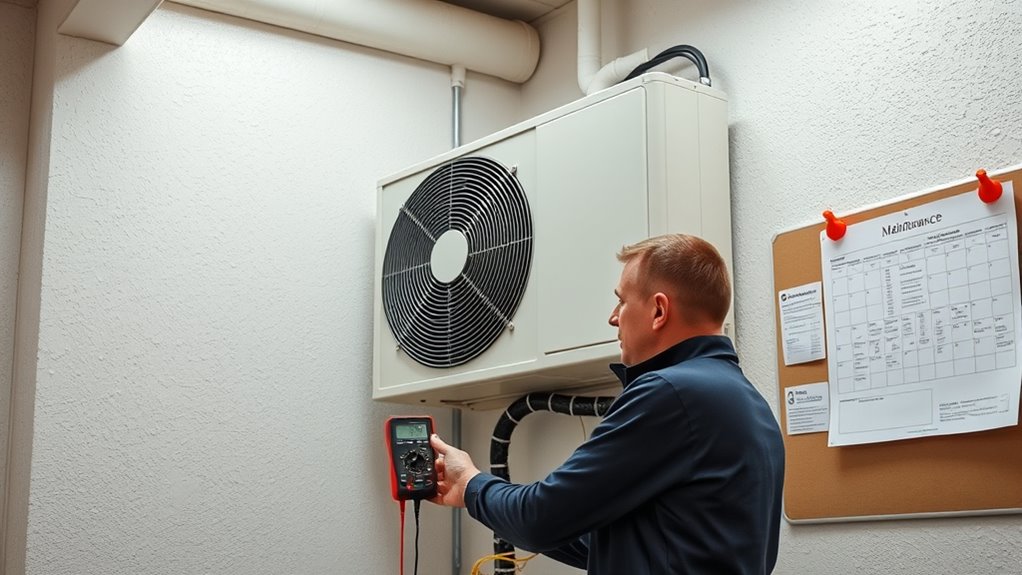
Document your system settings carefully to create a reliable reference for future adjustments and troubleshooting. Accurate documentation helps maintain energy efficiency and simplifies user training. Record parameters like temperature setpoints, pressure levels, and system alerts. Establish a maintenance schedule that includes regular inspections, filter changes, and refrigerant checks to optimize performance. This proactive approach prevents efficiency loss and costly repairs. Keep detailed logs of maintenance activities and system performance trends. Educate users on proper operation and routine checks, reducing unnecessary calls and ensuring consistent energy efficiency. Regular documentation and scheduled maintenance empower you to troubleshoot quickly, extend equipment lifespan, and maintain peak system performance. Staying organized minimizes downtime and maximizes the heat pump’s efficiency over its lifetime.
Frequently Asked Questions
How Often Should I Schedule Professional Maintenance After Installation?
You should schedule professional maintenance for your heat pump at least once a year. During these routine inspections, a technician will check system performance and clean components. Don’t forget to replace filters regularly—typically every 1-3 months—to guarantee efficiency. Regular maintenance helps prevent breakdowns, extends the lifespan of your heat pump, and keeps it running smoothly. Stay proactive, and your system will perform at its best year-round.
What Are Common Signs of Heat Pump Malfunction During Operation?
During operation, keep an eye out for diagnostic indicators like unusual noises, inconsistent heating or cooling, and increased energy bills. If your heat pump cycles on and off frequently, or if the airflow feels weak, these are signs to troubleshoot. Regular maintenance helps catch issues early, but understanding troubleshooting tips—such as checking filters and thermostat settings—can prevent minor problems from becoming major malfunctions.
Can I Upgrade Control Settings Remotely or via Smartphone?
Imagine holding the reins of your heat pump like a maestro with a baton. Yes, you can upgrade control settings remotely using a smartphone app, turning your device into a command center. With a few taps, you adjust temperatures, schedules, and modes from anywhere, giving you control as if you’re steering your home’s comfort with a flick of your finger. Embrace the power of smart technology and take command effortlessly.
What Safety Precautions Should I Take During System Startup?
When starting up your heat pump, prioritize safety by wearing appropriate safety gear like gloves and eye protection. Make sure you understand emergency procedures in case something goes wrong. Before powering on the system, double-check all connections and ensure the area is clear of obstructions. Follow manufacturer instructions carefully, and keep a fire extinguisher nearby. Taking these precautions helps prevent accidents and ensures a safe startup process.
How Do I Troubleshoot Refrigerant Leaks or Pressure Issues?
Your heat pump’s health hinges on catching refrigerant leaks or pressure issues early. Start by using refrigerant detection tools to identify leaks—don’t rely on just hearing or smelling for trouble. Then, check your pressure gauge calibration to ensure accurate readings. If pressure is off, it could mean leaks or other problems. Address leaks immediately, and recalibrate gauges regularly to keep your system running smoothly and efficiently.
Conclusion
You’ve now successfully set up and started your heat pump, ensuring efficiency and ease. By following these focused, foolproof steps, you foster flawless functioning and future peace of mind. Remember to review, regulate, and record regularly, reinforcing reliability and maintaining mastery over your system. With consistent care and confidence, your heat pump will serve smoothly, saving you stress and supporting sustainable comfort season after season. Stay savvy, stay satisfied, and enjoy the seamless warmth and coolness you’ve skillfully set in place.