Are you tired of dealing with the difficulties of handling refrigeration cycle issues in your heat pump?
Well, look no further! We’ve got you covered with our practical guide on fixing these pesky problems.
From understanding the refrigeration cycle to troubleshooting low refrigerant levels and fixing electrical issues, we’ve got all the solutions you need.
Don’t let these problems get in the way of your comfort – let us help you serve yourself and enjoy a well-functioning heat pump.
Key Takeaways
- The refrigeration cycle in a heat pump consists of the evaporator, compressor, condenser, and expansion valve.
- Issues in the refrigeration cycle can include refrigerant leaks, restricted airflow, faulty reversing valve, and compressor issues.
- Steps to recharge refrigerant include identifying and repairing leaks, connecting gauges to measure pressure and temperature, and adding the necessary amount of refrigerant.
- Fixing leaks in the heat pump refrigeration system involves locating the leak, repairing faulty components, and testing the system for any remaining leaks.

VEVOR 4.5 CFM AC Vacuum Pump and Gauge Set, Single Stage Rotary Vane HVAC Air Vacuum Pump, A/C Refrigerant Manifold Gauge Kit, with Leak Detector Hoses, for R134a, R12, R22, R502a, R410A, R404, R407C
Universal Refrigerant Compatibility: Compatible with a variety of refrigerants, including R134a, R22, R12, R502, R410A, R404A, and R407C….
As an affiliate, we earn on qualifying purchases.
As an affiliate, we earn on qualifying purchases.
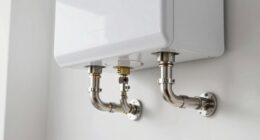
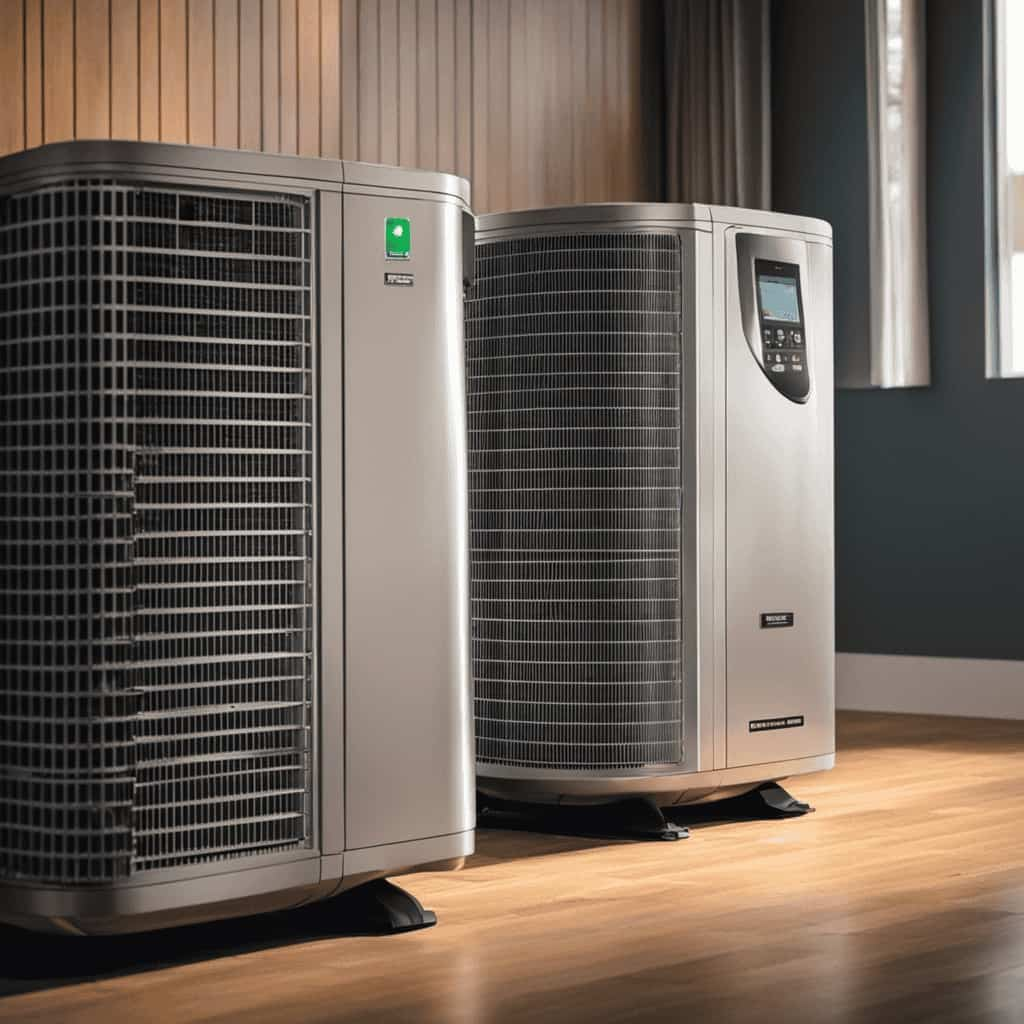
Understanding the Refrigeration Cycle in a Heat Pump
In this section, we’ll explain the refrigeration cycle in a heat pump. Understanding the heat pump operation and the refrigeration process is crucial for identifying common issues and effectively serving others.
The refrigeration cycle in a heat pump works by transferring heat from a colder area to a warmer area, using a refrigerant. It starts with the evaporator, where the refrigerant absorbs heat from the surrounding air, evaporating into a gas.
The compressor then compresses this gas, increasing its temperature and pressure. Next, the refrigerant flows into the condenser, where it releases heat to the outside air and condenses back into a liquid.
Finally, the expansion valve reduces the pressure of the liquid refrigerant, allowing it to evaporate again in the evaporator. This continuous cycle of evaporation, compression, condensation, and expansion enables the heat pump to provide heating or cooling.

Now, let’s move on to identifying common issues in the heat pump refrigeration cycle.

VTG VOGTEN 4.5 CFM AC Vacuum Pump and Gauge Set,for Mini Split/HVAC/Auto Systems,Manifold Gauge Kit Compatible with R134a R12 R22 R502,Includes R134a Can Tap,R410a Adapters
HVAC Vacuum Pump Kit: This AC vacuum pump and gauge set includes a 110V 1/3 HP 4.5 CFM…
As an affiliate, we earn on qualifying purchases.
As an affiliate, we earn on qualifying purchases.
Identifying Common Issues in the Heat Pump Refrigeration Cycle
Let’s start by examining the most common issues that can arise in the heat pump refrigeration cycle. When troubleshooting heat pump noises, it’s important to identify the source of the problem. Here are four common issues to look out for:
-
Refrigerant leaks: Leaks can cause a decrease in refrigerant levels, leading to reduced heat pump efficiency. It’s crucial to locate and fix any leaks promptly.
-
Restricted airflow: Obstructions in the air ducts or dirty filters can restrict airflow, resulting in reduced heat transfer and increased energy consumption. Regularly clean and replace filters to optimize heat pump efficiency.

-
Faulty reversing valve: A malfunctioning reversing valve can prevent the heat pump from switching between heating and cooling modes. This issue requires professional assistance to diagnose and repair.
-
Compressor issues: Problems with the compressor, such as faulty valves or worn-out components, can lead to abnormal noises and reduced system performance. Regular maintenance and timely repairs can help prevent these issues.

Flanders EZ-Flow II 14x14x1 Air Filters, MERV 1 – Furnace, HVAC, and AC Replacement Filter, High-Airflow Fiberglass Media, 10055.011414, Pack of 2
Easy Installation & Replacement: With its nominal size of 14x14x1 inches (Actual Size: 13-7/8" x 13-7/8" x 3/4"),…
As an affiliate, we earn on qualifying purchases.
As an affiliate, we earn on qualifying purchases.
Troubleshooting Low Refrigerant Levels in the Heat Pump
When it comes to troubleshooting low refrigerant levels in a heat pump, there are a few common signs to look out for. These include reduced cooling or heating capacity, longer running times, and increased energy consumption.
To address this issue, the first step is to recharge the refrigerant by adding the appropriate amount to the system. This can be done by a qualified technician using the correct refrigerant and following proper safety procedures.

Common Signs of Low Refrigerant
One of the most common signs of low refrigerant in our heat pump is reduced cooling or heating performance. When the refrigerant level is low, the heat pump is unable to effectively transfer heat, resulting in inadequate temperature control.
Here are four common signs that can help troubleshoot low refrigerant levels:
-
Insufficient cooling or heating: If the heat pump isn’t providing the desired cooling or heating, it could be due to low refrigerant levels.
-
Longer cooling or heating cycles: Low refrigerant levels can cause the heat pump to run longer than usual to reach the set temperature.
-
Ice buildup on the evaporator coil: When refrigerant levels are low, the evaporator coil can become too cold, leading to ice formation.
-
Hissing or bubbling sounds: If you hear hissing or bubbling sounds near the heat pump, it could indicate a refrigerant leak.
If you notice any of these signs, it’s essential to have a professional technician inspect and address the low refrigerant levels promptly.
Steps to Recharge Refrigerant
To effectively troubleshoot low refrigerant levels in our heat pump, we’ll need to follow these steps to recharge the refrigerant.
-
Identify any potential refrigerant leaks. This can be done by using a refrigerant leak detection device or by inspecting the refrigerant lines and connections for any signs of leakage, such as oil stains or hissing sounds.
-
Once any leaks are detected and repaired, the next step is to connect a set of gauges to the heat pump’s service ports. These gauges will allow us to measure the pressure and temperature of the refrigerant in the system.
-
With the gauges connected, we can then add the necessary amount of refrigerant to bring the levels back to the manufacturer’s specifications.
-
It’s important to note that the type and amount of refrigerant needed will vary depending on the specific heat pump model.


EF19ZG034 – Carrier OEM Replacement Heat Pump Reversing Valve 24v Solenoid Coil
This is a Brand New OEM Replacement Relay
As an affiliate, we earn on qualifying purchases.
As an affiliate, we earn on qualifying purchases.
Fixing Leaks in the Heat Pump Refrigeration System
We can fix leaks in the heat pump refrigeration system by identifying the source and applying appropriate repairs. Here are the steps to effectively fix leaks in the system:
-
Locate the leak: Use a refrigerant leak detector or a soap solution to find the exact source of the leak. Look for bubbles or a hissing sound that indicates a leak.
-
Repair the leak: Once the leak is identified, it can be repaired by replacing faulty components such as valves, gaskets, or tubing. Ensure that the new components are compatible with the system.
-
Test for leaks: After the repair, test the system for any remaining leaks. Use a pressure test or a refrigerant leak detector to ensure that the repair was successful.

-
Prevent future leaks: To prevent future leaks, regularly inspect the system for signs of wear and tear. Keep the system clean and ensure proper maintenance to prolong its lifespan.
Addressing Inadequate Heat Transfer in the Refrigeration Cycle
To improve heat transfer in the refrigeration cycle, we need to identify and address any factors that may be causing inadequate heat exchange.
One common issue is the improper functioning of the heat pump defrosting mechanism. When frost or ice builds up on the outdoor unit’s coils, it acts as an insulator, reducing heat transfer efficiency. Troubleshooting heat pump defrosting involves checking the defrost control board, sensors, and heating elements to ensure they’re functioning properly.
Another factor that can contribute to inadequate heat transfer is the accumulation of dirt and debris on the coils. Regular cleaning and maintenance can help improve heat pump efficiency by ensuring optimal heat transfer.
Additionally, it’s crucial to check and adjust the refrigerant charge to the manufacturer’s specifications, as an inadequate charge can hinder heat exchange.
Resolving Compressor Malfunctions in the Heat Pump
When it comes to resolving compressor malfunctions in the heat pump, there are a few troubleshooting tips that we can follow.
First, we need to identify common compressor malfunctions such as electrical issues, mechanical failures, or refrigerant leaks.
Once we’ve identified the problem, we can proceed with repairing the heat pump compressor, which may involve replacing faulty components or fixing any leaks in the system.

Compressor Troubleshooting Tips
Our team has developed some helpful tips for troubleshooting compressor malfunctions in the heat pump. When encountering compressor issues, it’s important to follow these steps to identify and resolve the problem efficiently:
-
Check for electrical problems: Ensure that the power supply to the heat pump is properly connected and that there are no tripped circuit breakers or blown fuses.
-
Examine the refrigerant levels: Insufficient refrigerant can cause the compressor to malfunction. Use a pressure gauge to measure the refrigerant levels and add more if necessary.
-
Clean the condenser coils: Dirty condenser coils can restrict airflow and cause the compressor to overheat. Regularly clean the coils to maintain proper heat transfer.

-
Inspect the compressor motor: Check for any signs of damage, such as burnt wires or loose connections. If any issues are found, repair or replace the motor as needed.
Common Compressor Malfunctions
We have encountered various common compressor malfunctions in the heat pump and successfully resolved them. Maintaining the compressor is crucial for the proper functioning of the heat pump. Regular compressor maintenance includes cleaning the coils, checking for refrigerant leaks, and ensuring proper lubrication. However, if a malfunction occurs, it may be necessary to replace the compressor. Here are some common compressor malfunctions and their solutions:
| Malfunction | Possible Cause | Solution |
|---|---|---|
| Compressor not running | Faulty start capacitor | Replace start capacitor |
| Compressor overheating | Insufficient airflow | Clean or replace air filters |
| Compressor making strange noises | Loose or worn-out belts | Tighten or replace belts |
| Compressor not cooling | Low refrigerant levels | Check for leaks and recharge refrigerant |
Repairing Heat Pump Compressors
To resolve compressor malfunctions in the heat pump, it’s important to understand how to repair heat pump compressors. Here are some key steps to perform compressor maintenance and troubleshoot compressor issues:
-
Inspect for leaks: Check the compressor for any refrigerant leaks using a leak detector. Repair any leaks found and ensure proper sealing.
-
Check electrical connections: Examine the electrical connections of the compressor for loose or damaged wires. Tighten connections and replace any damaged wires as necessary.
-
Clean the condenser coil: A dirty condenser coil can cause the compressor to overheat. Clean the coil using a soft brush or compressed air to remove dirt and debris.
-
Verify proper refrigerant charge: Incorrect refrigerant charge can lead to compressor malfunctions. Use a pressure gauge to measure the refrigerant levels and adjust as needed.
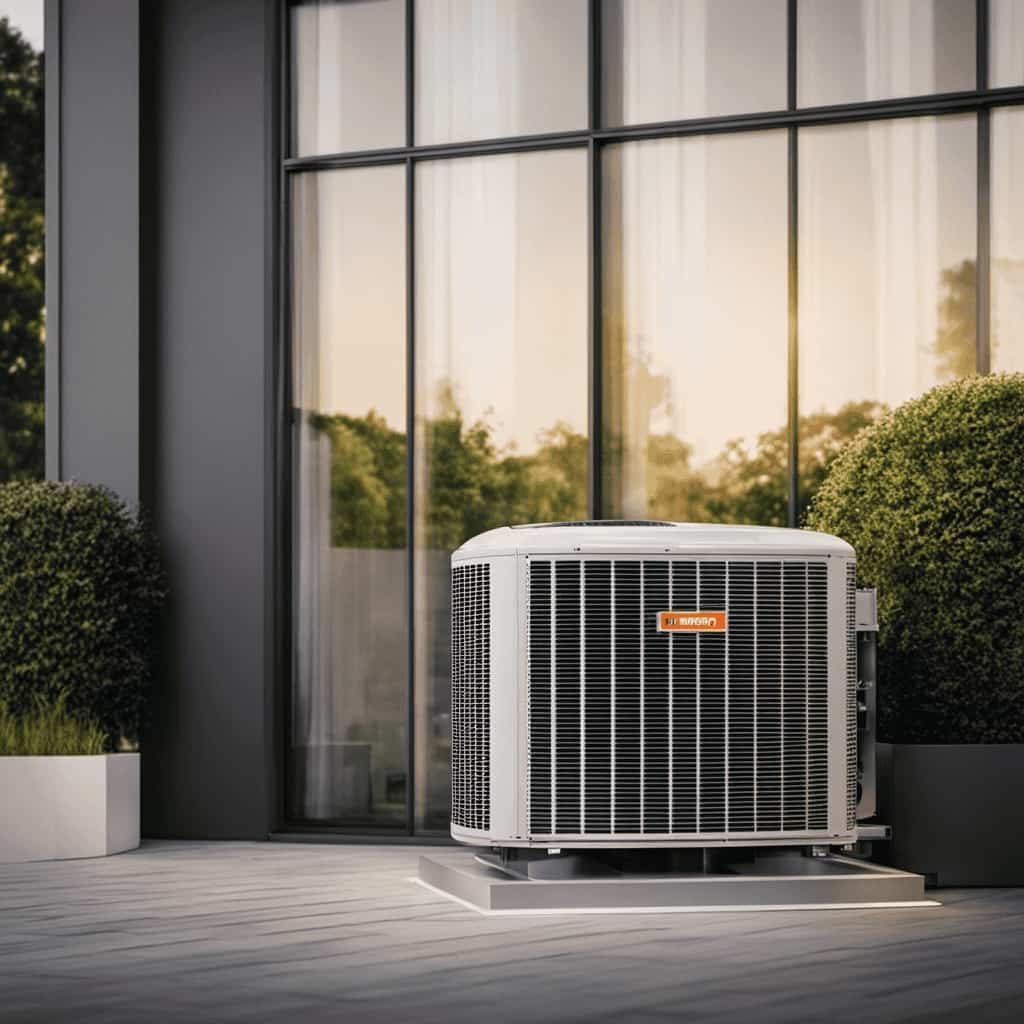
Dealing With Condenser and Evaporator Coil Problems
When dealing with condenser and evaporator coil problems, it’s important to identify and address issues promptly to ensure optimal heat pump performance.
One common issue is dealing with refrigerant leaks, which can lead to a decrease in system efficiency and cooling capacity. To troubleshoot coil freezing, it’s crucial to check for restricted airflow, inadequate refrigerant charge, or a malfunctioning expansion valve.
Restricted airflow can be caused by a dirty air filter or blocked vents, while an inadequate refrigerant charge may indicate a leak or improper installation. A malfunctioning expansion valve can result in improper refrigerant flow and temperature regulation.
By addressing these issues promptly, you can prevent further damage and maintain the efficiency of your heat pump system.
Now let’s move on to correcting expansion valve issues in the refrigeration cycle.

Correcting Expansion Valve Issues in the Refrigeration Cycle
Let’s discuss some common issues that can arise with the expansion valve in the refrigeration cycle of a heat pump.
Troubleshooting the expansion valve is crucial in diagnosing and resolving refrigerant flow problems.
Some common malfunctions include valve blockages or restrictions, improper superheat, or leaks.
Expansion Valve Troubleshooting
We can troubleshoot expansion valve issues in the refrigeration cycle to ensure optimal performance. Here are four steps to troubleshoot expansion valve problems and perform necessary maintenance:

-
Check the superheat:
Measure the superheat at the outlet of the evaporator coil to ensure it’s within the manufacturer’s recommended range. If the superheat is too high, it indicates an underfeeding expansion valve, while a low superheat suggests an overfeeding valve. -
Inspect the valve:
Visually inspect the expansion valve for any signs of damage or debris. Clean or replace the valve if necessary. Ensure that the valve is properly sized for the system’s cooling load. -
Adjust the valve:
If the superheat isn’t within the recommended range, adjust the valve’s opening to regulate refrigerant flow. Use manufacturer guidelines or consult a professional for specific adjustment procedures. -
Monitor performance:
After making adjustments, monitor the system’s performance to ensure the expansion valve is functioning correctly. Check for proper cooling, stable superheat, and balanced refrigerant flow.
Common Valve Malfunctions
To effectively address common valve malfunctions in the refrigeration cycle, we must identify and rectify expansion valve issues. Valve maintenance plays a crucial role in ensuring the smooth operation of the heat pump system. Regular inspection and cleaning of the valve are essential to prevent any blockages or debris buildup that can hinder its performance.
If maintenance efforts fail to resolve the issue, valve replacement may be necessary. When replacing the valve, it’s important to select a model that’s compatible with the specific heat pump system and meets the manufacturer’s specifications. Proper installation and adjustment of the new valve are crucial to ensure optimal refrigerant flow and system efficiency.
Repairing Refrigerant Flow
To address expansion valve issues in the refrigeration cycle, we must diagnose and repair any obstructions or malfunctions that may be impeding the flow of refrigerant. Here is a step-by-step guide to repairing refrigerant flow and optimizing the performance of your heat pump:
-
Identify and fix refrigerant leaks: Start by inspecting the system for any signs of refrigerant leaks, such as oil stains or hissing sounds. Repair any leaks promptly to prevent further loss of refrigerant and ensure proper flow.

-
Clean or replace the expansion valve: If the expansion valve is clogged or malfunctioning, it can restrict the flow of refrigerant. Clean the valve thoroughly, removing any debris or buildup. If cleaning doesn’t resolve the issue, consider replacing the valve.
-
Check the valve superheat setting: The expansion valve should be set to the correct superheat value. Adjust it if necessary to optimize refrigerant flow and prevent issues like flooding or starved evaporator conditions.
-
Test the system: After making the necessary repairs and adjustments, test the system to ensure that the refrigerant flow is optimized and all components are functioning properly.
By following these steps, you can effectively address expansion valve issues, reduce refrigerant leaks, and optimize the refrigerant flow in your heat pump.

In the next section, we’ll discuss troubleshooting faulty reversing valves in the heat pump.
Troubleshooting Faulty Reversing Valves in the Heat Pump
Let’s start by examining how to troubleshoot faulty reversing valves in the heat pump.
One common issue is troubleshooting defrosting problems. If the heat pump isn’t defrosting properly, it could be due to a faulty reversing valve. To address this, first, check the defrost thermostat and ensure it’s functioning correctly. If the thermostat is fine, then the reversing valve may be the culprit.
Another issue that may arise is noisy reversing valves. If you notice loud noises coming from the heat pump during operation, it could indicate a faulty reversing valve. In this case, it’s important to inspect the valve for any signs of damage or wear. If necessary, consider replacing the reversing valve to restore proper functionality.
Now, let’s move on to the next section, where we’ll discuss fixing electrical problems affecting the refrigeration cycle.
Fixing Electrical Problems Affecting the Refrigeration Cycle
We can address electrical problems affecting the refrigeration cycle by checking the wiring connections and testing the voltage levels. Here are four steps to help you fix these issues and ensure the smooth operation of your heat pump:
-
Inspect the motor connections: Start by examining the motor connections for any loose or damaged wires. Tighten any loose connections and replace any frayed or broken wires.
-
Test the voltage levels: Use a multimeter to measure the voltage levels at different points in the electrical circuit. Ensure that the voltage matches the manufacturer’s specifications. If the voltage is too low or too high, it may indicate a problem with the electrical supply or the motor itself.

-
Repair faulty electrical connections: If you find any faulty electrical connections, carefully repair or replace them. Make sure to follow safety guidelines and turn off the power before working on any electrical components.
-
Fix motor issues: If the motor itself is causing the electrical problems, you may need to repair or replace it. Consult the manufacturer’s guidelines or seek professional assistance to ensure proper motor repair.
Maintaining and Preventing Future Issues in the Heat Pump Refrigeration Cycle
Our goal is to ensure the longevity and efficient operation of the heat pump refrigeration cycle by implementing regular maintenance and taking preventive measures.
One crucial aspect of maintenance is preventing refrigerant leaks in the system. Regularly checking for any signs of leakage, such as oil stains or hissing sounds, can help identify and repair potential leaks early on.

Additionally, optimizing heat pump performance is essential to prevent future issues. This can be achieved by cleaning or replacing air filters regularly to ensure proper airflow and efficiency.
It’s also important to inspect and clean the outdoor unit to remove any debris that may obstruct airflow.
Frequently Asked Questions
How Often Should the Refrigerant Levels in a Heat Pump Be Checked and Maintained?
We should regularly check and maintain the refrigerant levels in a heat pump to ensure optimal performance. Maintaining a proper refrigerant maintenance schedule is crucial as it helps maintain the efficiency and effectiveness of the system.
Can Low Refrigerant Levels in a Heat Pump Lead to Other Issues Besides Reduced Cooling or Heating Efficiency?
Low refrigerant levels in a heat pump can cause other issues beyond reduced efficiency. Inadequate heat transfer in the refrigeration cycle can lead to compressor overheating, reduced lifespan of components, and potential system breakdown.
What Are Some Common Signs or Symptoms of Leaks in a Heat Pump Refrigeration System?
When it comes to leaks in a heat pump refrigeration system, there are several signs to watch out for. Common indicators include reduced cooling or heating performance, hissing sounds, and oily residue. Causes can range from faulty valves to worn-out seals.
Are There Any DIY Methods for Fixing Small Leaks in a Heat Pump Refrigeration System?
Yes, there are a few DIY methods for fixing small leaks in a heat pump refrigeration system. These methods include using leak sealants, replacing faulty valves, and tightening loose connections.
How Can Inadequate Heat Transfer in the Refrigeration Cycle Affect the Overall Performance of a Heat Pump?
Inadequate heat transfer in the refrigeration cycle can greatly impact the overall performance of a heat pump. It reduces its efficiency, increases energy consumption, and can even lead to system failure. Regular refrigerant level maintenance is crucial to prevent such issues.
Conclusion
In conclusion, by understanding the refrigeration cycle and identifying common issues in the heat pump, we can effectively troubleshoot and fix various problems. Whether it’s low refrigerant levels, leaks, inadequate heat transfer, or faulty valves, addressing these issues is crucial for optimal performance.

Additionally, addressing electrical problems and maintaining the heat pump will prevent future issues.
With these steps, you can ensure a well-functioning and efficient heat pump refrigeration cycle.