

We’ve all experienced it – the annoyance of a heat pump that isn’t working properly.
However, worry no more, as this article is designed to effortlessly walk you through resolving any issues with your heat pump.
From understanding the basics of the refrigeration cycle to troubleshooting compressor and electrical problems, we’ll provide you with the technical knowledge and analytical skills needed to tackle any issue.
So, grab your tools and let’s get to work serving you and your heat pump.
Key Takeaways
- Understanding the basics of the heat pump refrigeration cycle, including the functions of the evaporator, compressor, condenser, and expansion valve.
- Identifying and resolving low refrigerant issues through effective leak detection methods and regular inspections to prevent reduced cooling or heating capacity and increased energy consumption.
- Troubleshooting compressor problems by addressing noisy compressor issues, checking and refilling refrigerant levels, and seeking professional assistance for faulty relays or motors.
- Maintaining proper airflow through regular cleaning of air filters, removal of debris, checking for blockages in vents and obstructions in registers to ensure optimal heat pump performance.
Understanding the Basics of Heat Pump Refrigeration Cycle
We’ll start by explaining the key components of the heat pump refrigeration cycle. Understanding this cycle is crucial for optimizing heat pump efficiency and ensuring proper heat pump maintenance.
The heat pump refrigeration cycle consists of four main components: the evaporator, compressor, condenser, and expansion valve.
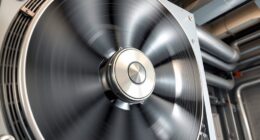
The cycle begins with the evaporator, where the refrigerant absorbs heat from the surrounding air or ground.
The compressor then increases the pressure and temperature of the refrigerant, pushing it into the condenser.
In the condenser, the refrigerant releases heat to the outside environment, making the surrounding air or water warm.

Finally, the expansion valve controls the flow of the refrigerant, lowering its pressure and temperature before it returns to the evaporator to start the cycle again.
Understanding these components and how they work together is essential for maintaining the efficiency of a heat pump system and ensuring its long-term performance.
Identifying and Resolving Low Refrigerant Issues
We will now explore the common causes of refrigerant leaks and effective methods for detecting them.
Identifying the root cause of low refrigerant levels is crucial for resolving heat pump issues. By understanding these causes and employing efficient leak detection methods, we can effectively address low refrigerant problems in heat pump systems.

Common Refrigerant Leak Causes
One of the most common causes of refrigerant leaks is improper installation or maintenance. When refrigerant leaks occur, it can lead to decreased system efficiency and potential damage to the heat pump. To understand the importance of identifying and resolving these leaks, let’s take a closer look at some common causes and their impact.
| Common Causes | Detecting Leaks | Impact |
|---|---|---|
| Loose fittings and connections | Visual inspection or electronic leak detector | Reduced cooling or heating capacity |
| Corroded coils or tubing | UV dye test or pressure testing | Higher energy consumption |
| Physical damage to components | Pressure testing or infrared thermography | Increased risk of system breakdown |
| Poor quality installation materials | Pressure testing or electronic leak detector | Shortened lifespan of the heat pump |
Effective Leak Detection Methods
To effectively identify and resolve low refrigerant issues, we can employ various leak detection methods. Effective leak detection techniques are crucial in maintaining the optimal performance of heat pump systems. Regular maintenance is essential to ensure the system operates efficiently and reliably, which is why it’s important to be proactive in detecting and resolving any refrigerant leaks.
One effective method is using electronic leak detectors, which can accurately pinpoint the source of the leak.
Another technique is the soap bubble test, where a mixture of soap and water is applied to potential leak areas, and any bubbles that form indicate a leak.
Regular inspections and leak detection can prevent further damage to the system, enhance energy efficiency, and ultimately save costs on repairs and replacements.
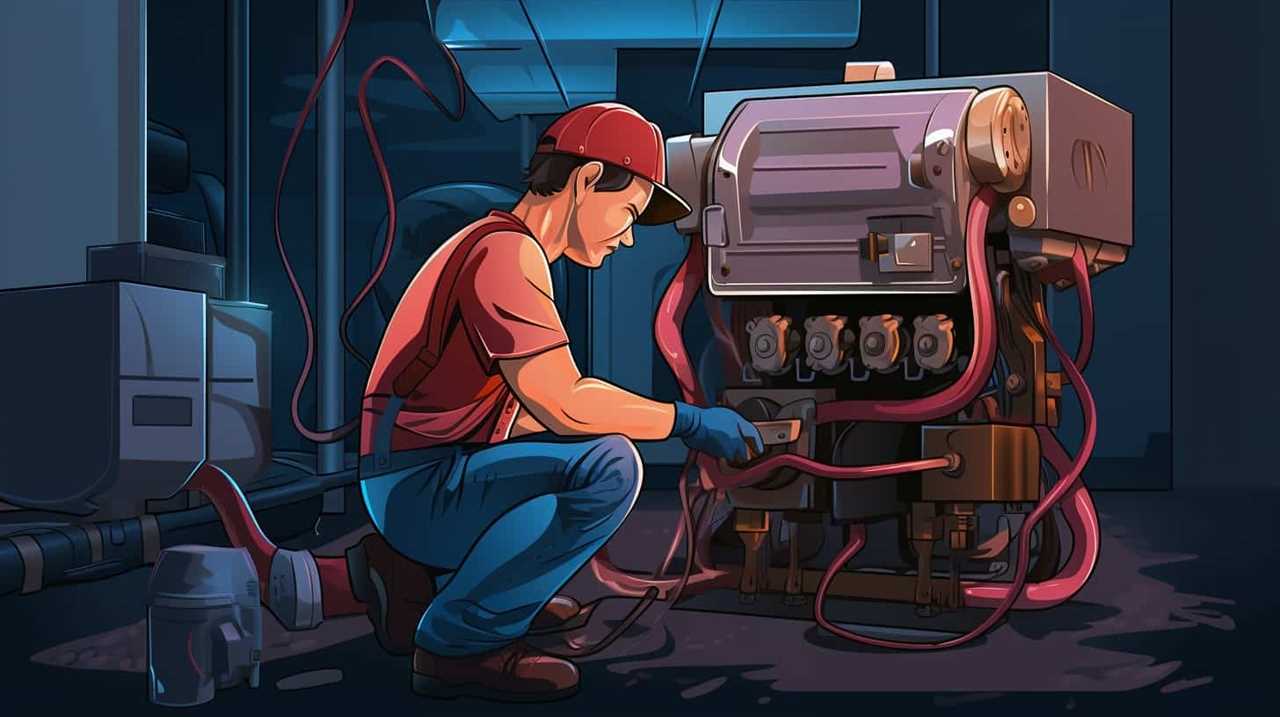
Troubleshooting Compressor Problems in Heat Pump Cycle
When troubleshooting compressor problems in the heat pump cycle, there are several key points to consider.
Firstly, noisy compressor solutions can often be resolved by tightening loose components or replacing worn-out parts.
Secondly, a low refrigerant level can cause compressor issues, so it’s crucial to check and refill the refrigerant if necessary.

Lastly, if the compressor isn’t starting at all, it could indicate a faulty relay or motor, which may require professional assistance to repair.
Noisy Compressor Solutions
We can easily address noisy compressor issues by identifying and resolving common problems in the heat pump cycle.
Noisy compressors can be diagnosed by listening for abnormal sounds such as rattling, buzzing, or grinding. These noises can indicate issues like loose components, worn bearings, or faulty valves.
To reduce noise, there are several techniques that can be employed. First, ensure that the compressor is properly mounted and securely fastened to minimize vibrations. Additionally, check for any loose or damaged parts that may be causing the noise. Lubricating moving parts and replacing worn-out components can also help reduce noise.

Finally, consider installing noise-reducing insulation or a sound blanket around the compressor to further dampen sound.
Low Refrigerant Level
With a low refrigerant level, our team can efficiently troubleshoot compressor problems in the heat pump cycle. A low refrigerant level can significantly impact the performance of the heat pump system, leading to reduced efficiency and increased energy consumption. It’s essential to address this issue promptly to prevent further damage to the compressor and ensure optimal refrigerant performance.
Our technicians are trained to diagnose and rectify low refrigerant levels through a thorough inspection of the system. By identifying and fixing any leaks in the refrigerant lines, we can restore the proper refrigerant charge and optimize the heat pump cycle. This not only improves the overall efficiency of the system but also extends the lifespan of the compressor, providing long-term benefits to our customers.
Compressor Not Starting
To effectively troubleshoot compressor problems in the heat pump cycle, our team focuses on identifying and resolving issues related to the compressor not starting. Compressor maintenance is crucial to ensure the proper functioning of the heat pump system. When the compressor fails to start, it can be due to various reasons, such as electrical issues, mechanical failures, or insufficient refrigerant levels. Troubleshooting startup issues requires a systematic approach to pinpoint the underlying problem. Here is a table summarizing some common causes and possible solutions for compressor not starting issues:
| Causes | Solutions |
|---|---|
| Electrical problems (faulty wiring, fuses) | Check and repair any electrical issues |
| Motor overload or overheating | Allow the compressor to cool down and reset the overload device |
| Insufficient refrigerant levels | Add refrigerant if necessary and fix any leaks |
| Faulty start capacitor | Replace the start capacitor |
Analyzing and Fixing Evaporator Coil Freezing
Our first step in analyzing and fixing evaporator coil freezing is to check the airflow and ensure proper insulation.
Proper airflow is essential for preventing ice formation on the evaporator coil. We’ll inspect the air filters to ensure they’re clean and not obstructed. Dirty filters can restrict airflow and lead to coil freezing.
Additionally, we’ll examine the ductwork for any leaks or restrictions that may hinder airflow.
Ensuring proper insulation is crucial as well. Inadequate insulation can cause condensation to form on the coil, leading to ice formation. We’ll inspect the insulation around the coil and replace any damaged or worn-out insulation.

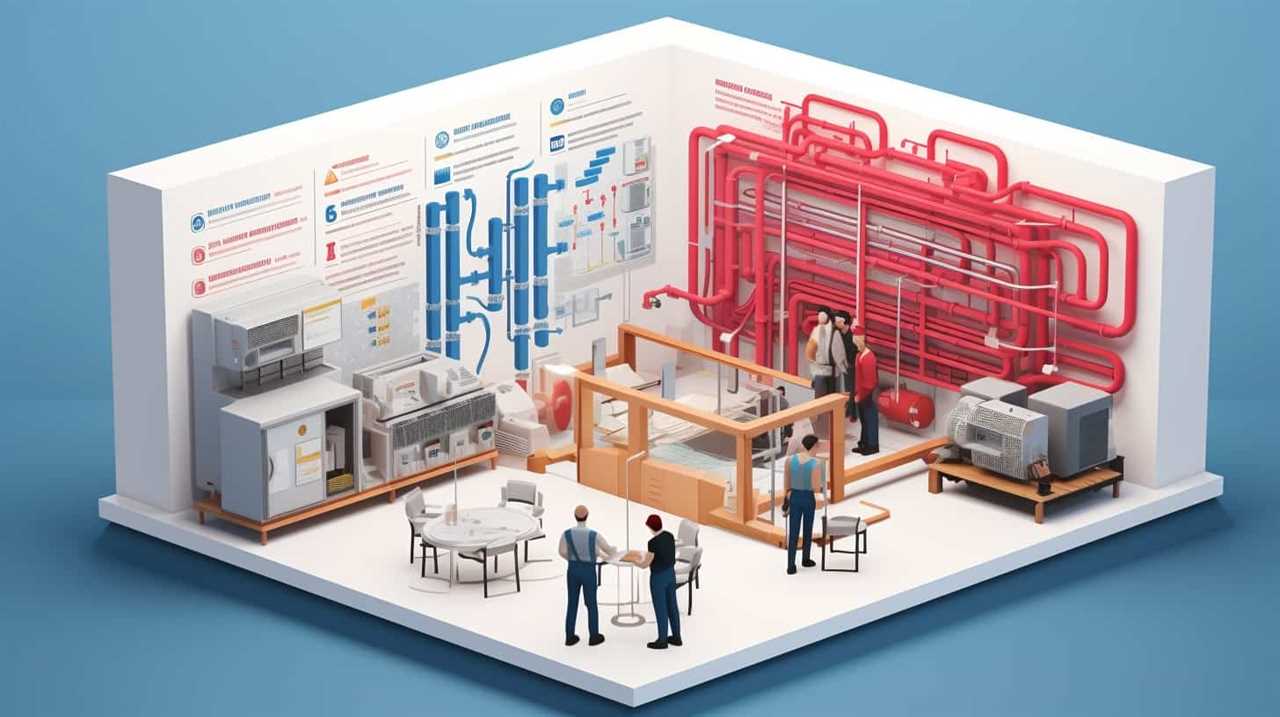
Resolving Condenser Coil Blockage in Heat Pump Cycle
How can we identify and remove blockages in the condenser coil of a heat pump cycle?
Condenser coil maintenance is vital for troubleshooting heat pump efficiency. When a blockage occurs in the condenser coil, it can severely impact the heat pump’s ability to transfer heat effectively.
To identify a blockage, start by visually inspecting the coil for any visible debris or obstructions. Use a soft brush or compressed air to remove any dirt or debris that may be blocking the coil.
If the blockage persists, a more thorough cleaning may be required using a coil cleaner or contacting a professional technician.
Regular maintenance and cleaning of the condenser coil will ensure optimum heat pump performance and prevent future blockages.
Addressing Expansion Valve Malfunctions in Heat Pump Cycle
When diagnosing expansion valve malfunctions in a heat pump cycle, we can observe the refrigerant pressure and temperature to determine if the valve is functioning properly. Troubleshooting expansion valve issues is crucial for optimizing heat pump cycle performance. By addressing malfunctions promptly, we can ensure efficient operation and prevent further damage to the system. To assist in diagnosing and resolving expansion valve problems, we can utilize the following table:
| Symptoms | Possible Causes |
|---|---|
| High suction pressure | Overfeeding of refrigerant |
| Low suction pressure | Underfeeding of refrigerant |
| Insufficient cooling capacity | Valve stuck in closed position |
| Excessive cooling capacity | Valve stuck in open position |
Fixing Issues With the Reversing Valve in Heat Pump Cycle
To effectively fix issues with the reversing valve in the heat pump cycle, we must carefully inspect and test the valve’s operation.
Reversing valve troubleshooting is a critical step in fixing heat pump cycle imbalances. When the valve malfunctions, it can cause the heat pump to operate inefficiently or not at all.

One common issue is a stuck valve, which can prevent the heat pump from switching between heating and cooling modes. To address this, we should check for any debris or blockages that may be preventing the valve from moving freely.
Another problem could be a faulty solenoid coil, which controls the movement of the valve. Testing the coil’s electrical resistance can help determine if it needs to be replaced.
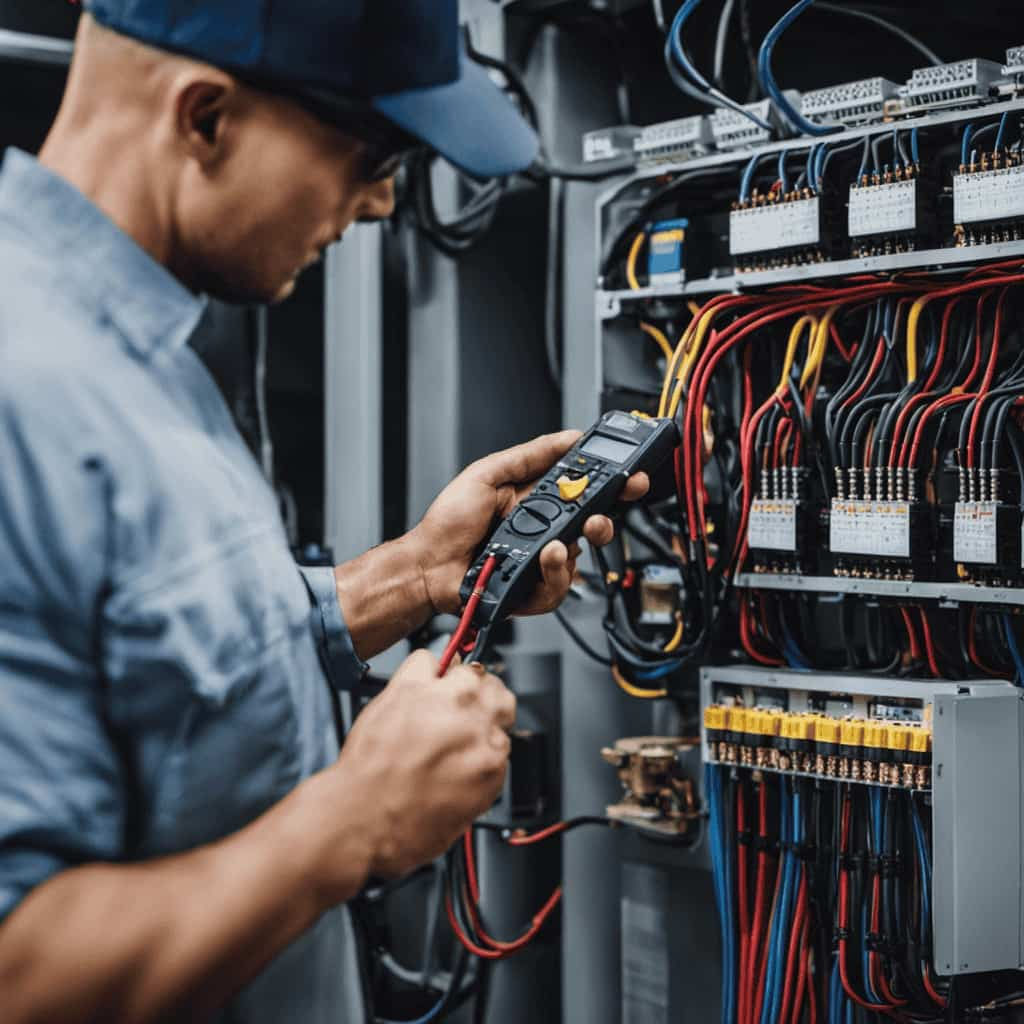
Troubleshooting Electrical Problems in the Heat Pump Cycle
To troubleshoot electrical problems in the heat pump cycle, we must first identify any potential issues with the wiring or electrical components. This requires a systematic approach to troubleshooting electrical connections and ensuring proper heat pump cycle maintenance. A thorough inspection of the wiring and electrical components is essential to identify any signs of damage, loose connections, or faulty components. It is important to check for any frayed wires, melted insulation, or burnt marks. In addition, testing each electrical component, such as the capacitor, contactor, and thermostat, is crucial to ensure they are functioning correctly. To assist you in troubleshooting electrical problems, refer to the table below for common issues and possible solutions:
| Electrical Problem | Possible Solution |
|---|---|
| No power to heat pump | Check circuit breaker and fuses |
| Blown fuses | Replace fuses and check for short circuits |
| Faulty thermostat | Replace thermostat or check wiring connections |
| Defective contactor | Replace contactor if not engaging properly |
| Faulty capacitor | Test and replace capacitor if necessary |
Preventing and Resolving Heat Pump Cycle Short Cycling
One common issue we may encounter is frequent heat pump cycle short cycling. This occurs when the heat pump turns on and off too quickly, leading to inefficient operation and increased wear and tear on the system.

To prevent short cycling and troubleshoot heat pump cycle issues effectively, consider the following:
-
Maintaining proper airflow:
-
Ensure that the air filters are clean and free from debris.
-
Check the vents and registers for blockages or obstructions.
-
Thermostat calibration:
-
Verify that the thermostat is accurately reading and maintaining the desired temperature.
-
Calibrate the thermostat if necessary, following the manufacturer’s instructions.
Frequently Asked Questions
How Does a Heat Pump Refrigeration Cycle Work?
A heat pump refrigeration cycle works by transferring heat from a low temperature source to a high temperature sink using a refrigerant. This process increases heat pump efficiency and requires regular heat pump maintenance.

What Are the Common Signs of Low Refrigerant in a Heat Pump?
Common signs of low refrigerant in a heat pump include decreased cooling or heating performance, ice formation on the outdoor unit, and hissing or bubbling sounds. Troubleshooting steps involve checking for leaks and contacting a professional for recharging the system.
How Can I Troubleshoot and Fix Compressor Problems in a Heat Pump Cycle?
To troubleshoot and fix compressor problems in a heat pump cycle, we analyze technical data, employ diagnostic tools, and apply our expertise. Our goal is to efficiently resolve issues, ensuring smooth operation and optimal performance.
What Causes Evaporator Coil Freezing in a Heat Pump and How Can It Be Resolved?
Evaporator coil freezing in a heat pump can be caused by low refrigerant levels, restricted airflow, or a malfunctioning defrost control. To prevent this, ensure proper refrigerant levels, clean filters, and maintain regular maintenance on the system.
How Can I Prevent and Resolve Condenser Coil Blockage in a Heat Pump Cycle?
To prevent and resolve condenser coil blockage in a heat pump cycle, we employ a combination of preventive measures and regular maintenance. By ensuring proper airflow and cleaning the coil regularly, we can optimize the performance of the heat pump system.

Conclusion
In conclusion, understanding and resolving issues in the heat pump cycle can be achieved effortlessly with the right knowledge and troubleshooting techniques.
One interesting statistic to highlight is that approximately 80% of low refrigerant issues in heat pump cycles can be attributed to leaks in the system.
By identifying and fixing these leaks, we can ensure optimum performance and efficiency of the heat pump, creating a comfortable and energy-efficient environment.